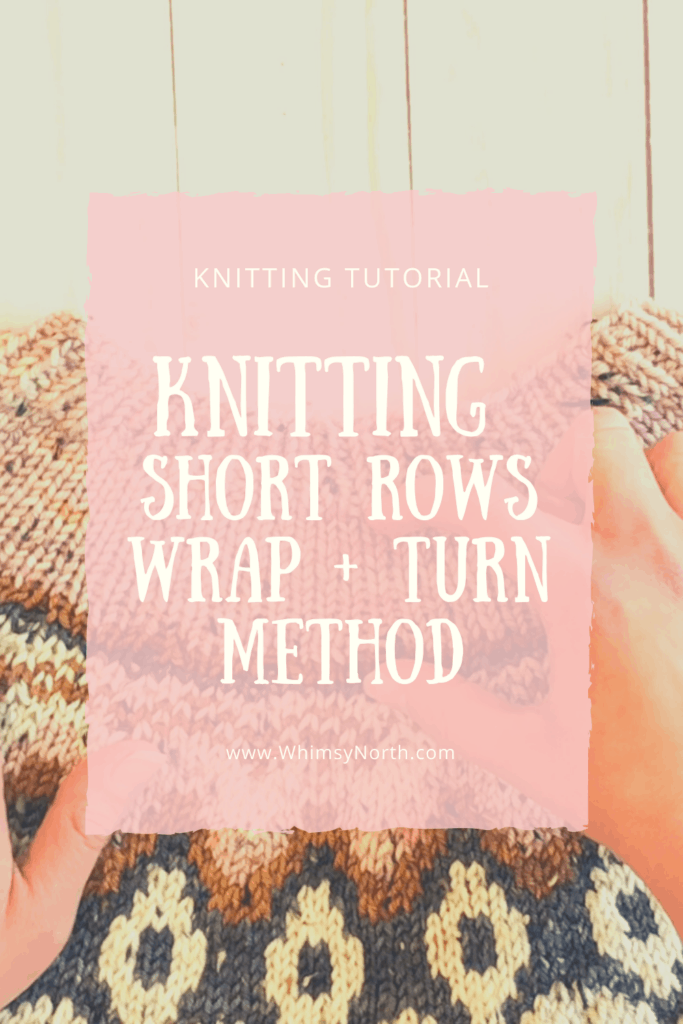
Knitting Short Rows – Wrap and Turn Method.
Many people when they see short rows listed in a pattern shy away from it because they assume it’s going to be challenging or confusing. I’m here to show you how easy it can be to knit short rows using the wrap and turn method.
Knowing how to knit short rows will allow you to shape your knitting in new and exciting ways, as well as, create garments that fit your body better!
This post may contain affiliate links. In the event of a sale, I get rewarded a small commission, at no extra cost for you. These funds help me keep my blog up and running to provide you with great content and free patterns so thank you!
What are Short Rows in Knitting?
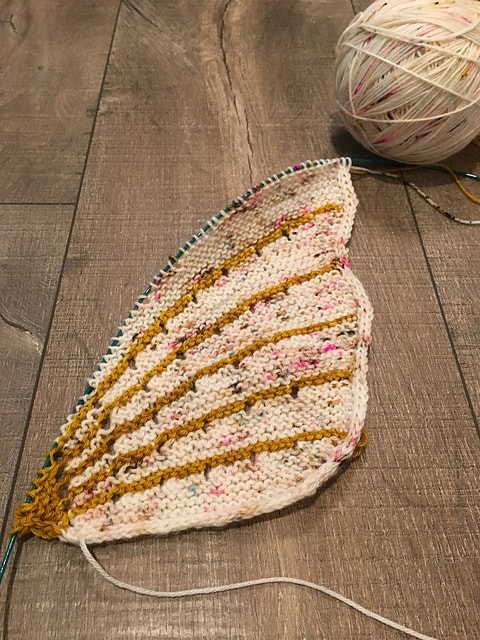
Short rows are a form of shaping where you knit only a portion of the row/round instead of all the way around or across. This creates extra fabric or wedges in the stitches that you knit additional times. For example, you will see below the start of my Doodler Shawl by Stephen West. The white sections are knit using short rows which is why this section of the shawl ends up wider on the right side than the left.
Instead of knitting all the way across each row some of the rows are only knit 3/4 of the way across and then turned and knit back to the beginning again.
Why do you need short rows in knitting?
Short rows allow you to shape your knitting in ways that you cannot attain by simply knitting across or in the round. They give you additional freedom in your design.
Another reason short rows are important is creating a garment that fits your body. All bodies are different and most are not square! Sure there are increases and decreases which help shape the sides of a garment but what about the body parts in the middle of your garment that aren’t flat?
Short rows vs. bust darts in knitting.
One of the main ways I’ve seen short rows used in a garment is to help accommodate for bust sizes. This can be done in multiple ways, however, the two most common ways are short rows in the back and bust darts.
Short rows in the back help to raise up the back of the garment by adding additional fabric which in turn makes the front of the collar go down and the bottom hems in the front and the back level. This may seem counterintuitive to most. Why would we want to add more fabric to the back of our garment if we are trying to accommodate a body part that’s in the front?
If you were to knit a sweater without short rows then depending on your bust size the front of your sweater would be shorter and could billow out from your body. Adding additional fabric at the back base of your neck brings the back of the sweater up shifting the front of the sweater down, therefore, creating a more level hem at the bottom and making it so the front of the sweater hangs closer to the body.
To create bust darts you instead knit short rows in the front of your garment where the bust is. This adds additional fabric to that area allowing the sweater to fit better and giving the knitter the ability to create a custom fit.
Next I will go through each step to knitting short rows using the wrap and turn method.
See the video below for the full tutorial or read on for written directions.
Knitting Short Rows, Wrap and Turn Method Step by Step.
Step 1
Wrap and Turn on the Knit Side of your work.
Knit the number of stitches stated on the pattern until you reach the wrap and turn stitch. Typically it will read something like this:
From BOR (Beginning of Round) K31 sts, wrap and turn.
To complete this section you would start at the beginning of the round, knit 31 sts and then do a short row wrap and turn on the knit side.
- Slip the next stitch on your left-hand needle purlwise onto your right-hand needle.
- Bring your working yarn to the front of your work.
- Slip the same stitch from your right-hand needle back to your left-hand needle.
- Bring your working yarn to the back of your work.
- Turn your entire piece around so that the purl side is now facing you and your working yarn is in front and ready to purl.
Wrap and Turn on the Purl Side of your Work.
Purl back to the BOR. Then purl the stitches listed on your pattern. This will read something like this:
P to BOR, sm, p 31 sts, wrap and turn.
To complete this section you would purl to the beginning of round, slip your marker, purl 31 sts and then complete the wrap and turn on the purl side.
- Slip the next stitch on your left-hand needle purlwise onto your right-hand needle.
- Bring your working yarn to the back of your work.
- Slip the same stitch from your right-hand needle back to your left-hand needle.
- Bring your working yarn to the front of your work.
- Turn your entire piece around so that the knit side is now facing you and your working yarn is in the back and ready to knit.
Get updates on Free Patterns and coupon codes by singing up for my newsletter!
Step 2
Picking up and knitting wraps as you come to them.
Once you finish your short rows you will need to pick-up and knit the stitches and their wraps in order to close any holes and bring the wraps neatly to the back.
This is done on the next round of knitting after you have completed all of your wraps and turns. You will need to pick up the wraps differently based on whether they were made on the knit side or the purl side and whether you are knitting or purling around.
Picking up a wrap from a knit side wrap and turn on the knit side.
- Knit to the stitch and it’s wrap.
- Put your right hand needle underneath the wrap as if to knit.
- Keeping the wrap on your right needle, slip the stitch as if to knit.
- Knit both the wrap and the stitch together as one stitch.
Picking up a wrap from a purl side wrap and turn on the knit side.
- Knit to the stitch and its wrap.
- Put your right-hand needle into the wrap and bring it up and place it onto the left-hand needle.
- Adjust the stitch and it’s a wrap so that the stitch is in front (closest to the tip of the needle) and the wrap is behind it (further from the tip of the needle).
- Slip the stitch from the left needle to the right, knitwise.
- Slip the wrap from the left needle to the right, purlwise.
- Knit both the wrap and the stitch together.
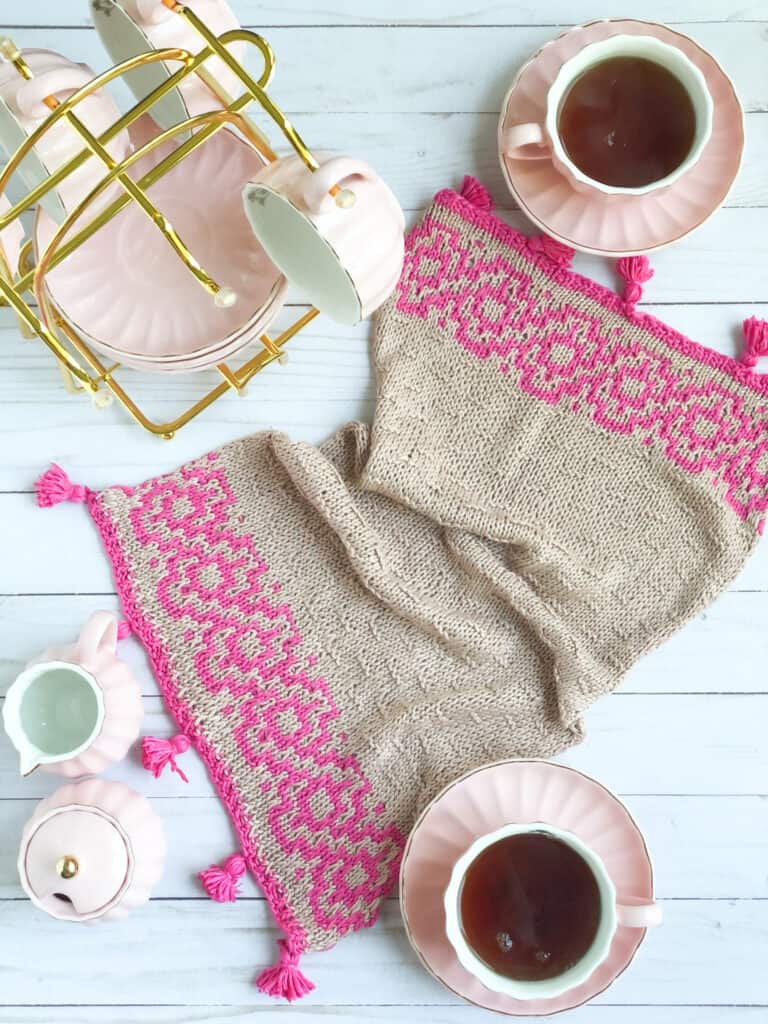
Sweater knitting pattern using short rows wrap and turn method.
For the shaping of my Glimmer Crop pattern, I used short rows below the back of the collar, before the colorwork chart to raise up the back and tilt the front down. You can see this by looking at the distance between the collar and the colorwork on both the front and the back of the sweater.
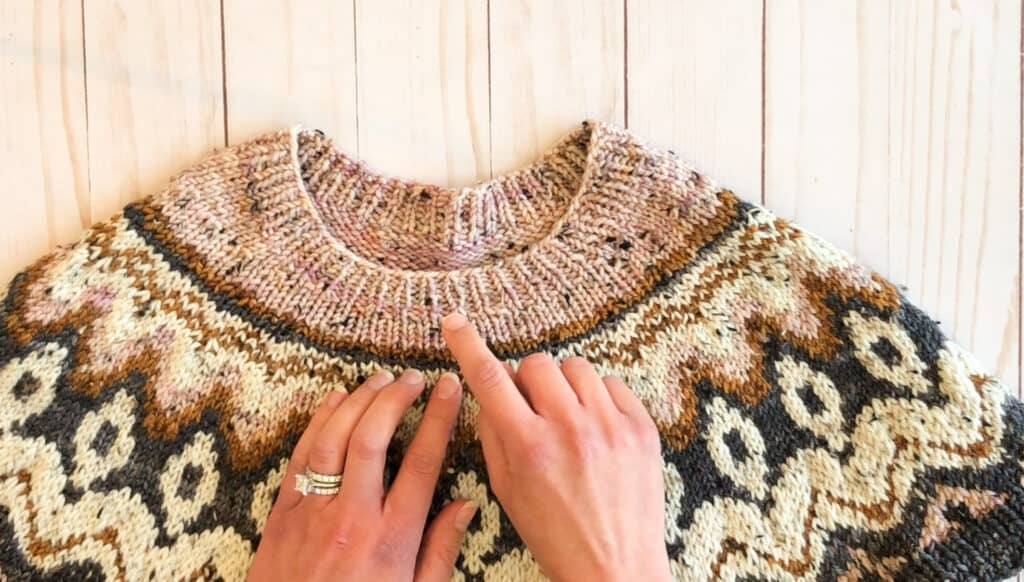

This shaping was done using the wrap and turn method listed above.
There you have it! How to knit short rows using the wrap and turn method.
- For more knitting tutorials click here.
- For video tutorials subscribe to my YouTube Channel.
PIN IT!