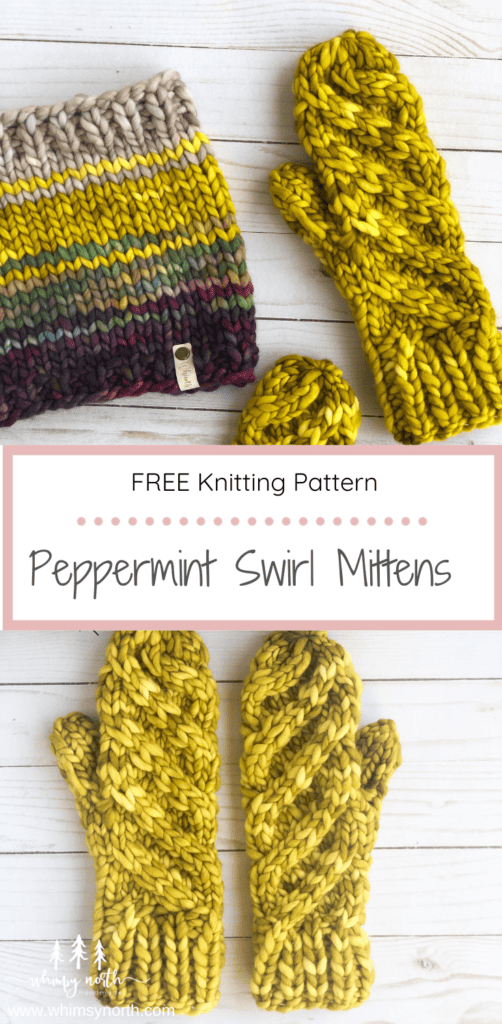
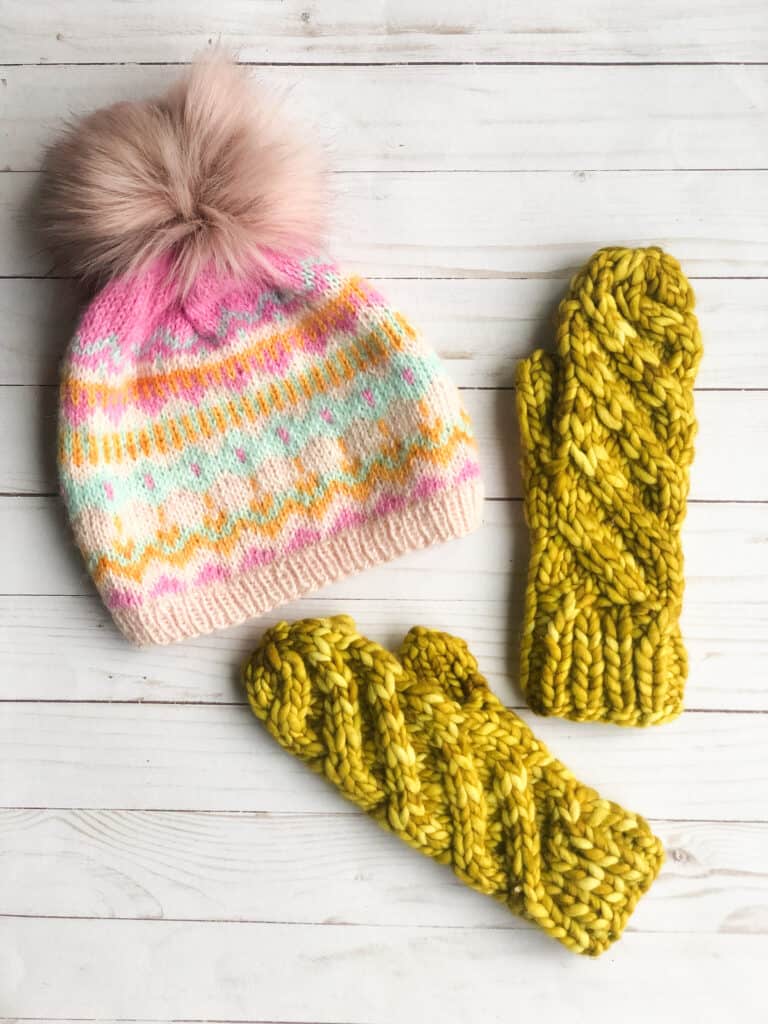
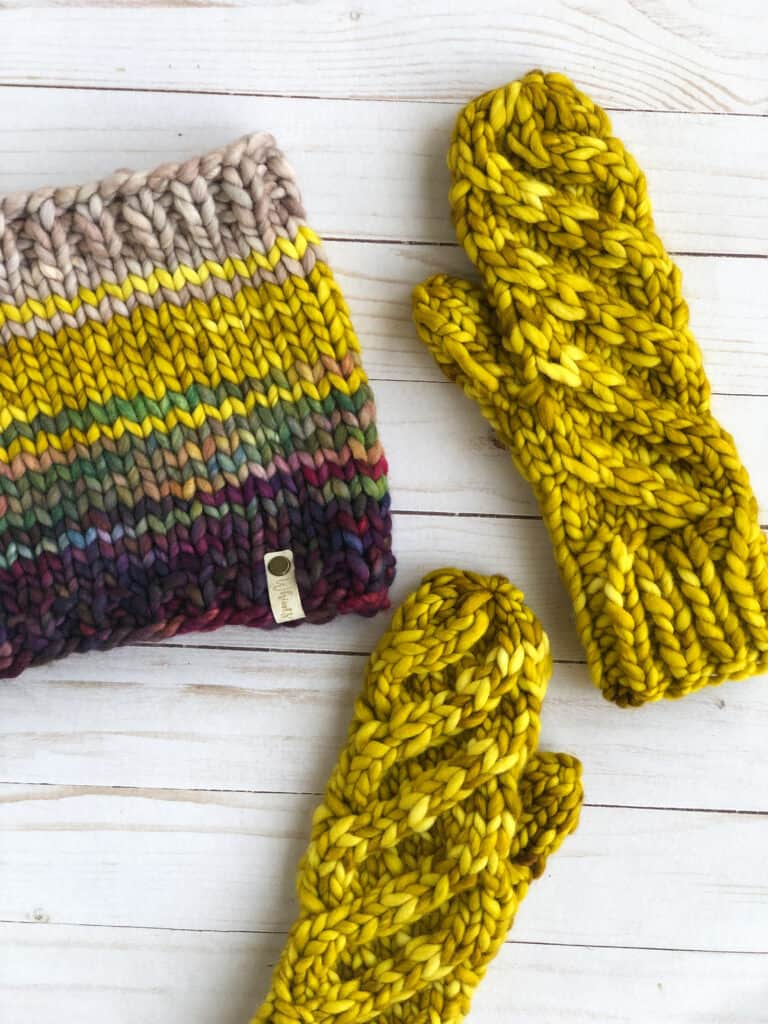
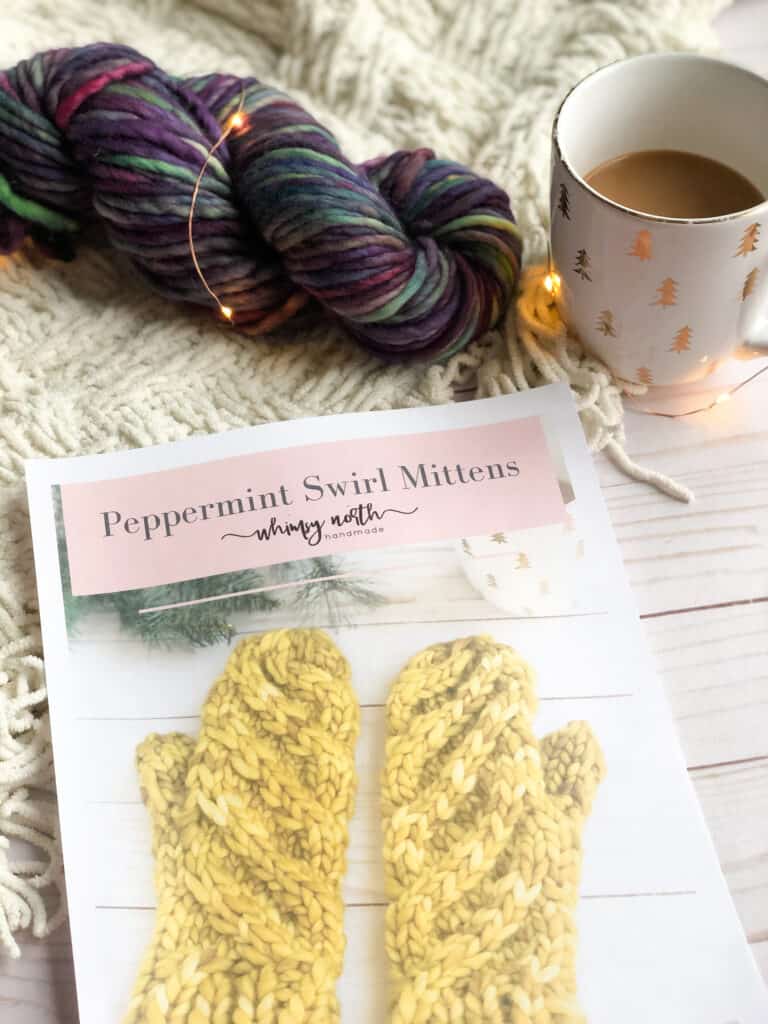
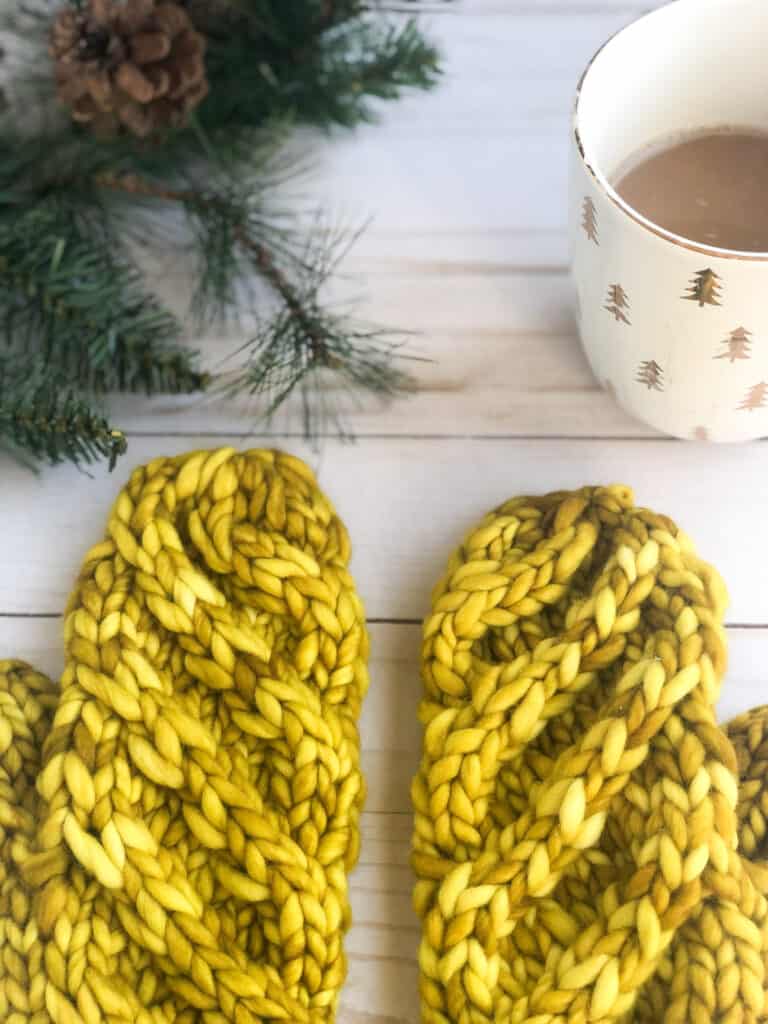
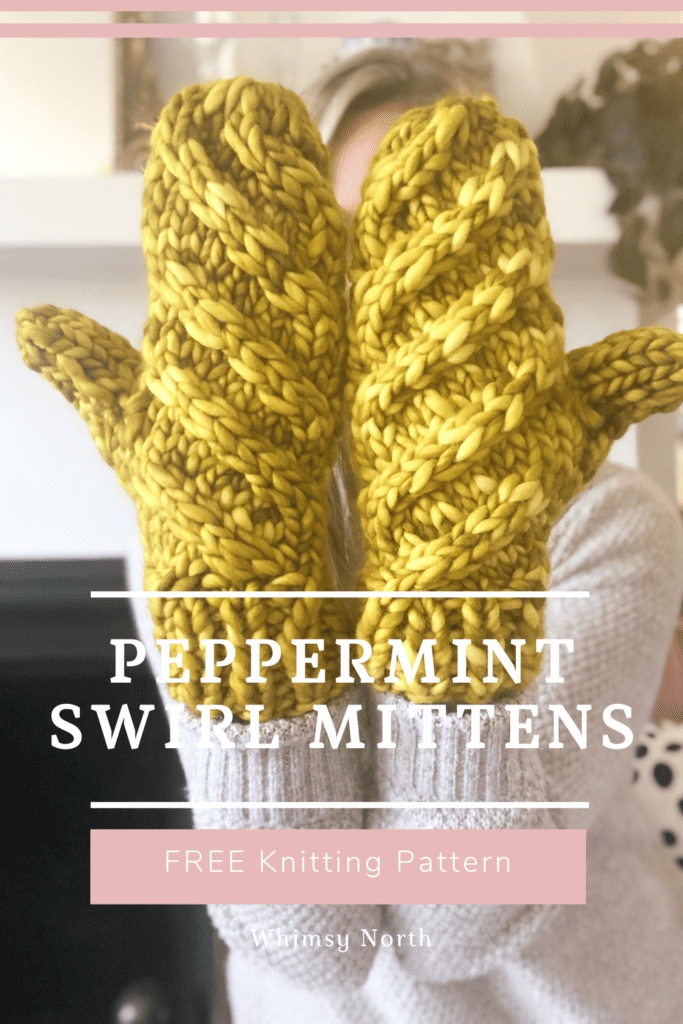
Peppermint Swirl Mittens – FREE Cable Mittens Knitting Pattern
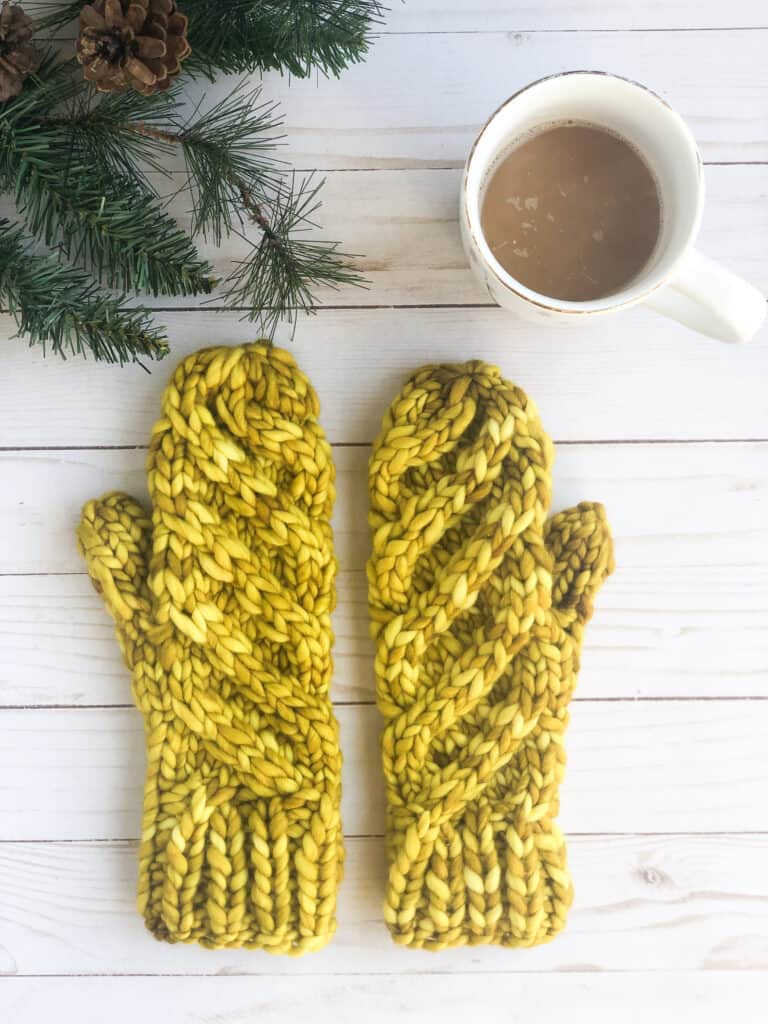
A beautiful swirling cable design along with cozy super bulky yarn create the Peppermint Swirl Mittens, a cozy free cable mittens knitting pattern! Scroll down for the full free knitting pattern or purchase the ad-free PDF here.
This post may contain affiliate links. In the event of a sale, I get rewarded a small commission, at no extra cost for you. These funds help me keep my blog up and running to provide you with great content and free patterns so thank you!
Click HERE to Pin this post!
How to Knit Mittens
These mittens are easy to knit if you know how to do a few simple things. These include knitting a cable, decreasing, and picking stitches up from waste yarn.
Steps to knitting a mitten.
- Cast on mitten cuff stitches and join in the round.
- Knit the cuff.
- Knit the beginning of the hand.
- Place waste yarn where the thumb will later go.
- Knit the rest of the hand.
- Decrease for the top.
- Break yarn and thread through the remaining top stitches to close.
- Pick up the thumb stitches and place on the needle removing the waste yarn.
- Knit the thumb.
- Break yarn and thread through the remaining thumb stitches.
- Done!
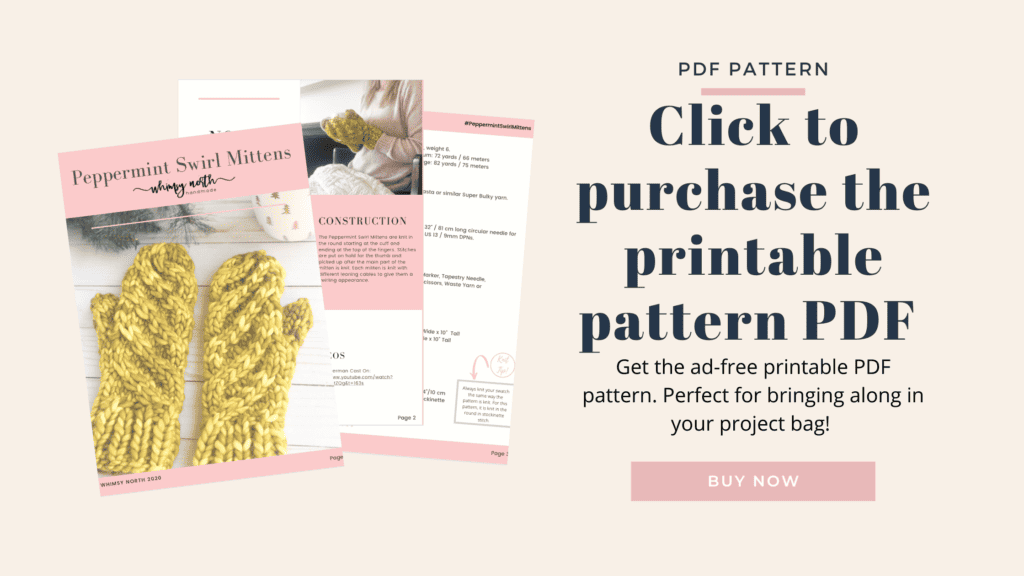
Find a printer-friendly PDF version of the Peppermint Swirl Mittens here in my Etsy shop. The PDF version includes the full ad-free pattern that’s easy to print and stick in your project bag!
Click HERE for more FREE Mitten Knitting Patterns
Keep scrolling for the FREE version of the Peppermint Swirl Mittens Knitting Pattern.
Best Yarn for Knitting Chunky Mittens
There are a few things to keep in mind when choosing yarn for chunky mittens.
- Fiber Content: This is a personal preference. If your hands tend to sweat I would go with a natural fiber such as wool. This is because it has natural wicking qualities and will keep your hands dry. If that is not of concern to you then superwash or acrylic works well too.
- Ply and Twist: A single ply roving yarn like Malabrigo Rasta (shown in my sample – color Frank Ochre) can tend to shed and pill faster. Whereas a yarn with a twist like Lion Brand Wool-Ease Thick and Quick may shed less.
I’ve included some of my favorite super bulky yarns to use for mitten knitting below.
Budget friendly Super Bulky Yarn for Knitting Chunky Mittens
Super Bulky yarn can come in a multitude of price points. These are my favorite budget friendly yarns for chunky mittens.
Splurge worthy Super Bulky Yarn for Knitting Mittens
If you want something a little more on the luxury side here are my favorite splurge worthy super bulky yarns.
- Malabrigo – Rasta
- Madelinetosh – A.S.A.P
- Summer Camp Fibers – Marshmallow Super Bulky
- We Are Knitters – The Wool
Peppermint Swirl Mittens – FREE Cable Mittens Knitting Pattern
Description:
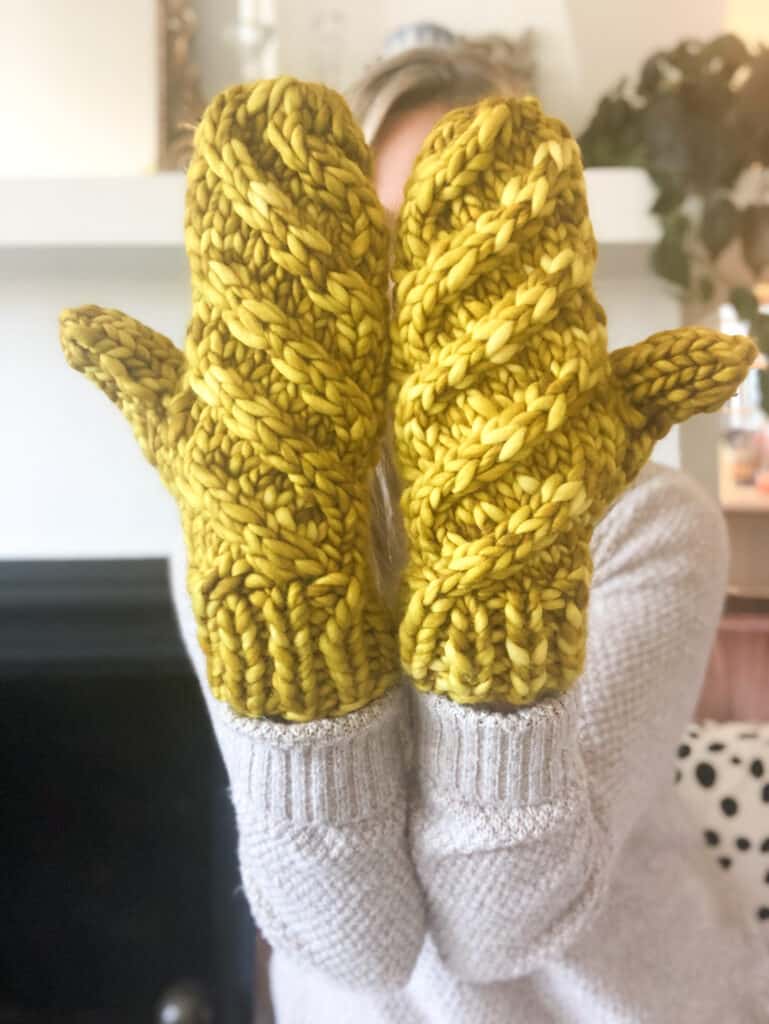
The Peppermint Swirl Mittens are knit in the round starting at the cuff and ending at the top of the fingers. Stitches are put on hold for the thumb and picked up after the main part of the mitten is knit. Each mitten is knit with different leaning cables to give them a swirling appearance.
Note: Sizing
These mittens are written for 2 adult sizes. The first number in the pattern is for the Adult S/M size while the number in ( ) is for the Adult M/L size. Sample shown in size S/M.
Helpful Video for knitting these mittens
Sizes: Adult S/M (Adult M/L)
Materials:
Super Bulky weight yarn in the following yardages
- Small/Medium: 72 yards / 66 meters
- Medium/Large: 82 yards / 75 meters
SUGGESTED YARN
- Knit Picks – Tuff Puff
- Lion Brand – Wool-Ease Thick and Quick
- Knit Picks – Stroll Hand Painted
- Malabrigo – Rasta (This is the yarn I used in my sample – Color: Frank Ochre)
- Madelinetosh – A.S.A.P
- Summer Camp Fibers – Marshmallow Super Bulky
- We Are Knitters – The Wool
OTHER TOOLS NEEDED
- US 13 / 9mm: 32″ / 81 cm long circular needle for magic loop or US 13 / 9mm DPNs. Or size necessary to obtain gauge. These are the interchangeable needles I use for all of my super bulky knits.
- Tapestry Needle
- 1 Stitch Marker
- Scissors
- Cable Needle
- Waste/Scrap yarn
- The Knit Kit – My FAVORITE knitting tool. I keep one in each project bag! Click here and use my link for 10% off your order of $25 or more on The Knit Kit and Summer Camp Fibers entire shop!
Gauge:
10 sts & 14 rows = 4”/10 cm. Measured over stockinette stitch in the round.
Glossary:
CO – Cast on
cn – Cable Needle
DPNs – Double Pointed Needles
k – Knit
k2tog – Knit the next two stitches together (1 st decrease)
m1L – Make one left leaning
p – Purl
Rep – Repeat
st/s – Stitch/es
CABLE STITCHES
2/2 RC (2 over 2 right cross): Slip 2 sts to cn, hold to back, k2, k2 from cn.
2/2 LC (2 over 2 left cross): Slip 2 sts to cn, hold to front, k2, k2 from cn.

Peppermint Swirl Mittens – FREE Cable Mittens Knitting Pattern Directions
LEFT HAND
CUFF
CO 18 (20) sts using the Twisted German Cast On, place locking stitch marker to mark beginning of round, and join in the round.
Rounds 1-8: *K1, p1; Rep from * to end of round.
BODY
Situate sts on the needles so that 10 (10) sts are on the first needle and 8 (10) are on the second. If using DPNs place 10 sts on first needle 4 (4) on the second and 4 (6) on the 3rd.
Round 9: 2/2 RC, k2, 2/2 RC, k to end of round.
Round 10: K.
Round 11: K4, 2/2 RC, k to end of round.
Round 12: K.
Round 13: K2, 2/2 RC, k to end of round.
Round 14: K15 (17), m1L, k2, m1L, k to end of round [2 sts inc, 20 (22) total sts.]
Rounds 15 – 19: Repeat rounds 9-13.
Round 20: K15 (17), place 4 sts onto waste yarn or holder, using backwards loop method cast on 2 sts onto the right needle, k to end of round.
Rounds 21 – 25: Repeat rounds 9-13.
Round 26: K.
Rounds 27 – 31: Repeat rounds 9-13.
Round 32: K.
Rounds 33 – 35: Repeat rounds 9-11.
Rounds 36: [Decrease Round] *K1, k2tog; Rep from * to end of round for size S/M and last 2 sts for M/L. For M/L size, k2tog. [6 (8) sts dec, 12 (12) total sts]
Cut yarn, leaving an 8”/ 20cm tail. Using your tapestry needle, thread the tail through the remaining stitches and pull tightly to close the top of the mitten. Move onto thumb section.
RIGHT HAND
CUFF
CO 18 (20) sts using the Twisted German Cast On, place locking stitch marker to mark beginning of round, and join in the round.
Rounds 1-8: *K1, p1; Rep from * to end of round.
BODY
Situate sts on the needles so that 10 (10) sts are on the first needle and 8 (10) are on the second. If using DPNs place 10 sts on first needle 4 (6) on the second and 4 (4) on the 3rd.
Round 9: 2/2 LC, k2, 2/2 LC, k to end of round.
Round 10: K.
Round 11: K2, 2/2 LC, k to end of round.
Round 12: K.
Round 13: K4, 2/2 LC, k to end of round.
Round 14: K10 (11) , m1L, k2, m1L, k to end of round [2 sts inc, 20 (22) total sts.]
Rounds 15 – 19: Repeat rounds 9-13.
Round 20: K11 (12), place 4 sts onto waste yarn or holder, using backwards loop method cast on 2 sts onto the right needle, k to end of round.
Rounds 21 – 25: Repeat rounds 9-13.
Round 26: K.
Rounds 27 – 31: Repeat rounds 9-13.
Round 32: K.
Rounds 33 – 35: Repeat rounds 9-11.
Rounds 36: [Decrease Round] *K1, k2tog; Rep from * to end of round for size S/M and last 2 sts for M/L. For M/L size, k2tog. [6 (8) sts dec, 12 (12) total sts]
Cut yarn, leaving an 8”/ 20cm tail. Using your tapestry needle, thread the tail through the remaining stitches and pull tightly to close the top of the mitten. Move onto thumb section.

THUMB (same for both)
Place the 4 sts on hold back onto the needle and then pick up 4 sts around the sides and top of the thumb hole. (1 from each side of the thumb hole and 2 sts from the top of the thumb hole). You will have a total of 8 sts.
Rounds 1 – 7: K.
Round 8: [Decrease] *K1, k2tog; Rep from * to last 2 sts, k2tog. [3 sts dec, 5 total sts]
Cut yarn, leaving an 8”/ 20cm tail. Using your tapestry needle, thread the tail through the remaining stitches and pull tightly to close the top of the mitten.
FINISHING
Flip mittens inside out and weave in ends. Use the tail near the thumb to close up any holes on either side of the thumb.
Now you have a cozy and warm cable mittens knitting pattern! Check out more of my FREE knitting patterns on the blog HERE.
I would love it if you took a moment to upload your projects to Ravelry or Pin this pattern to Pinterest so you can share it with friends! Also, don’t forget to share your knit hat on Instagram so I can see what you make! Us the hashtag #peppermintswirlmittens and tag @whimsynorth