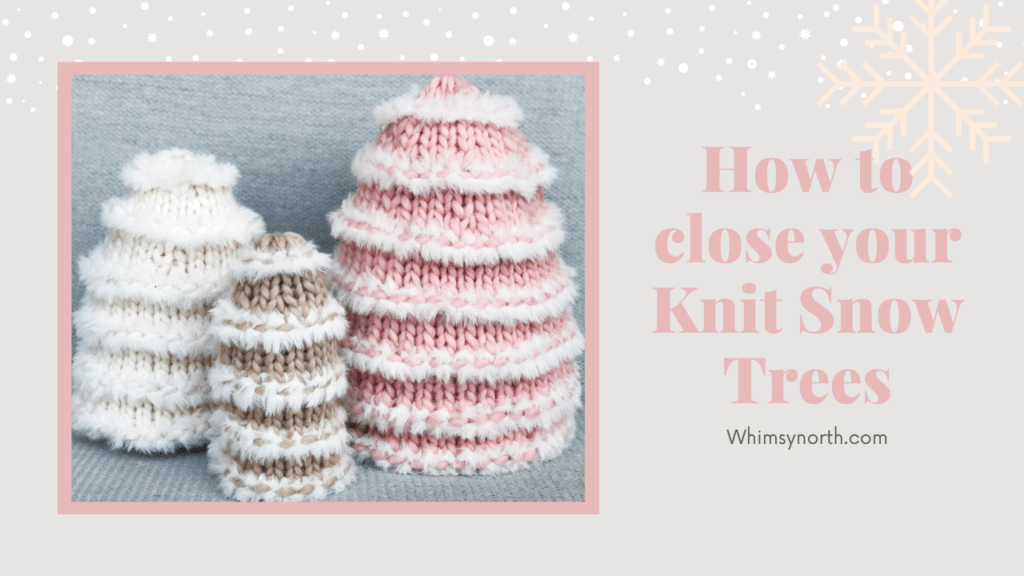
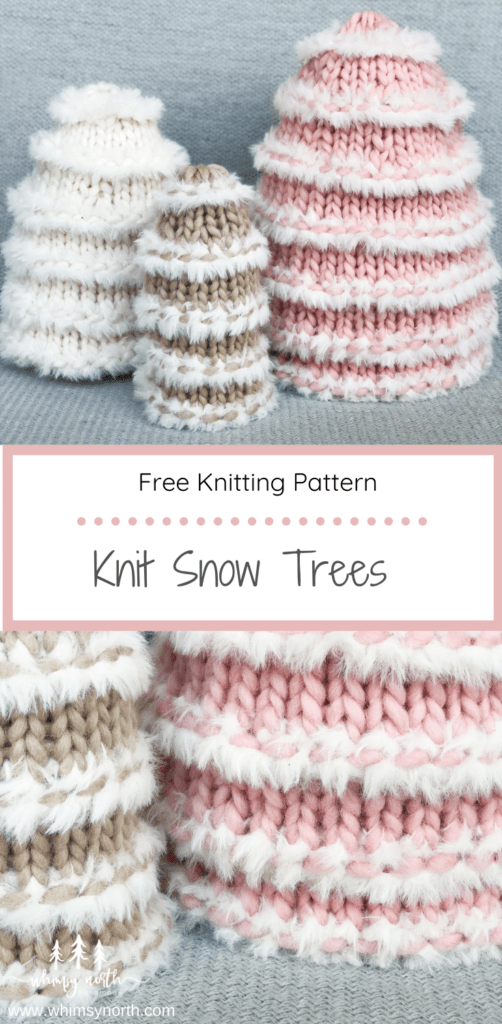
How to make Knit Snow Trees – FREE Tree Knitting Pattern.
My – Knit Snow Trees – is such a quick and fun tree knitting pattern to make you will be adding these whimsical trees to your holiday decor in no time! Read about my inspiration and the yarn I chose or scroll down for the free pattern!
This post may contain affiliate links. In the event of a sale, I get rewarded a small commission, at no extra cost for you. These funds help me keep my blog up and running to provide you with great content and free patterns so thank you!
Snowy Knit Tree Knitting Pattern
Christmas is my favorite holiday and, don’t hate me, but Halloween isn’t really up there on my list. Therefore, when others are putting creepy spiders out on their porch and carving pumpkins I’m skipping right on over to Christmas.
I started brainstorming for Christmas Knitting Patterns back in July and came up with a few fun ideas. Then I went on over to Pinterest to begin researching a theme and kept coming back to a Whimsical Christmas.
Considering my brand name is Whimsy North and my brand colors are pink, white, grey and gold I figured this theme would work perfectly!
The Glam Trees
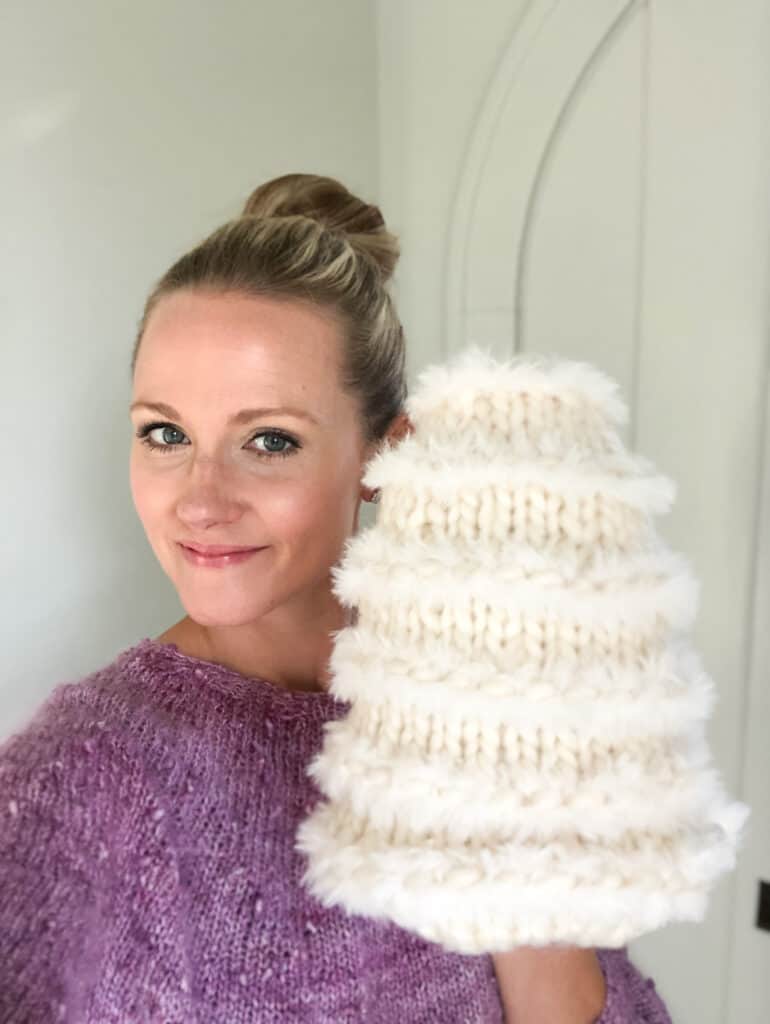
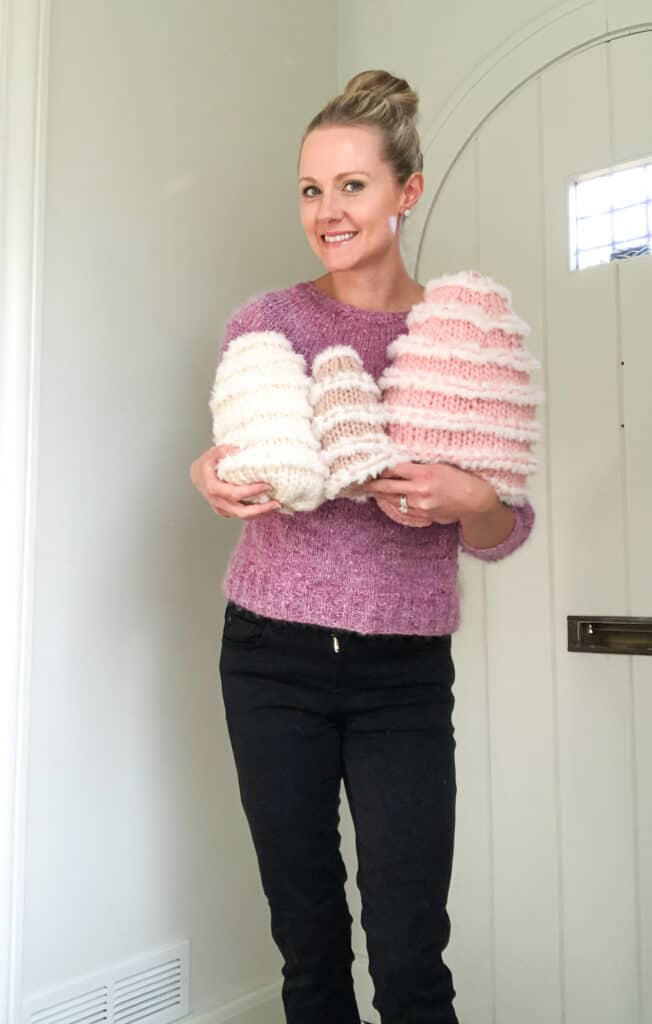
My original idea was to do 5 different tree knitting patterns. The first was going to be my snowy trees using Knit Picks Fable Fur for the snow. After knitting three different snow tree sizes I moved onto my next design, the Velvet Tree.
For the Velvet Tree sample, I used Bernat Velvet. Sadly the decreases at the top didn’t work out like I was hoping they would and it turned out looking more like a hot dog than a tree! That’s when I decided maybe one tree knitting pattern per year was good. This year is the year of the snow trees and next year I’ll try again with the velvet tree.
Super Bulky Yarn
I love Knit Picks Tuff Puff yarn. It’s a super bulky 100% wool yarn that works up really fast and has a beautiful stitch definition. I have also used it for my Char Char Hat Pattern.
The Tuff Puff is used as the main yarn in this pattern and can be substituted for any other Super Bulky Weight yarn such as Lion Brand Wool-East Thick and Quick, Sugarbush Chill, or We Are Knitters The Wool
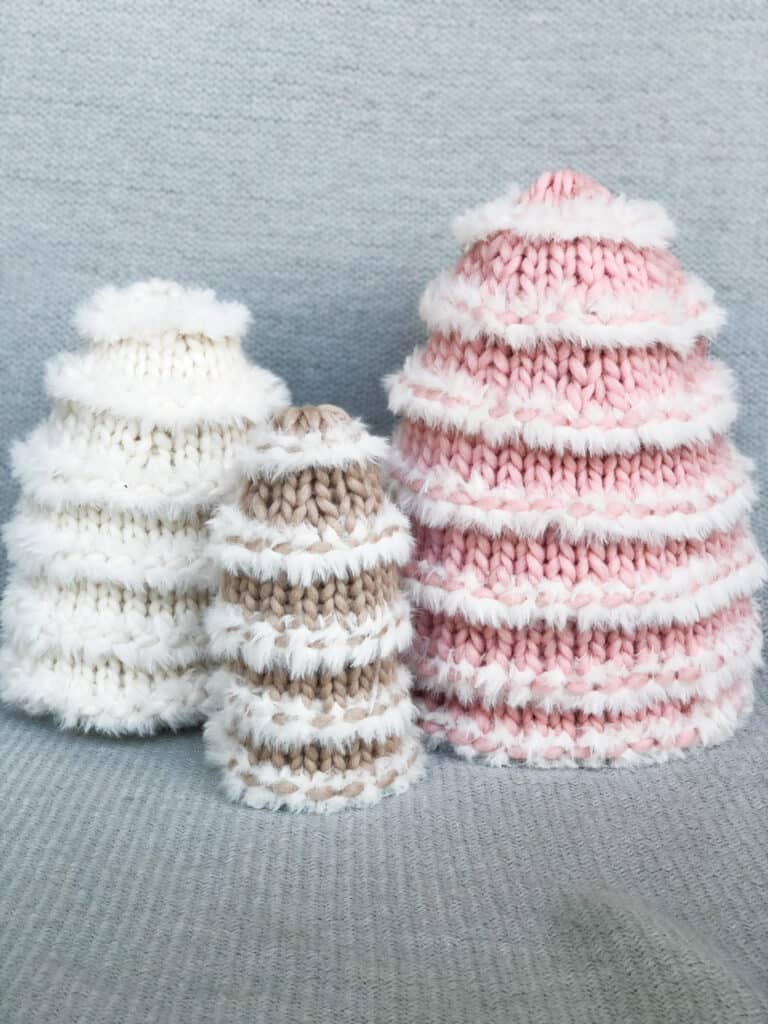
The fun part about these trees is you pick any tree colors you like. I chose to go with a more girly and whimsical palette. You are free to go with a more neutral or natural palette to match your personal decor style.
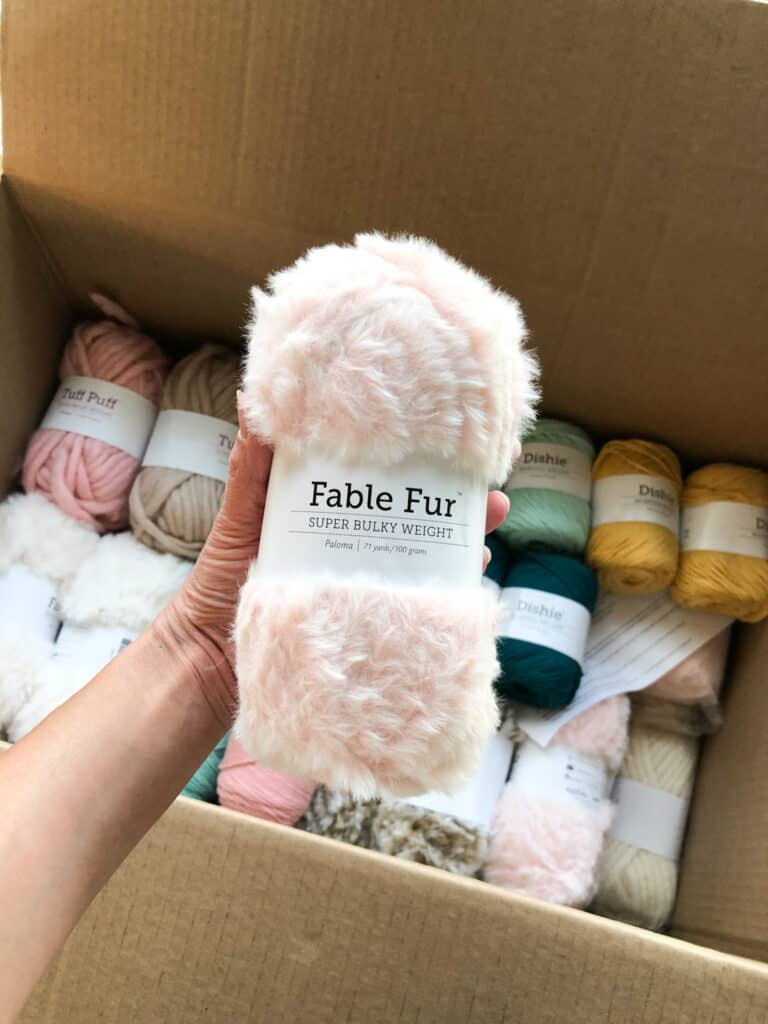
Faux Fur Yarn
Many of my Christmas designs revolve around Knit Picks Fable Fur this year. Knit Picks came out with a few new colors this summer and they were kind enough to send me some. It is such a fun yarn to knit with and the final results are super soft and cozy!
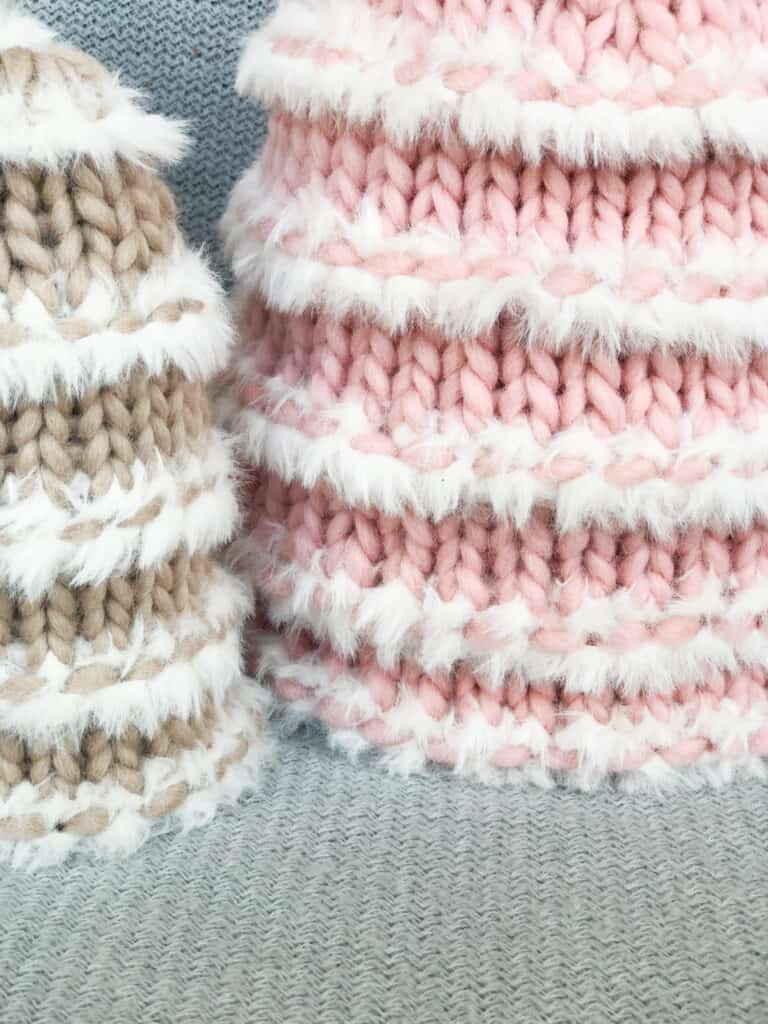
I originally had planned on using multiple different colors of Fable Fur in my trees but then after seeing how they all looked in the white/Eisbar fur color I liked how uniform they looked so I decided to just stick to white.
Constructing Your Knit Trees.
The Snow Trees are knit in the round starting at the bottom and ending at the top. The fur is carried up inside of the tree so there is no need to weave in ends as you go. After the top is closed off they are stuffed with Poly-Fil and then closed up at the bottom.
Styling your Knit Trees.
My trees are currently displayed on my fireplace mantle, however, I’ve also added them to a tablescape and even put fairy lights on the large tree for added Christmas cheer! You could even make an entire tree forest!
SIGN UP FOR MY NEWSLETTER AND RECEIVE UPDATES ON NEW FREE PATTERNS AND PATTERN DISCOUNTS!
Knit Snow Trees – Free Tree Knitting Pattern.
- Purchase the inexpensive, ad-free, printable PDF pattern here.
- Save this to your Ravelry queue here.
- Pin it to Pinterest for later here.
Supplies:
yarn:
Small Tree: 1 Ball Tuff Puff + 1 Ball Fable Fur
Medium Tree: 2 Balls Tuff Puff + 1 Ball Fable Fur
Large Tree: 3 Balls Tuff Puff + 1 Ball Fable Fur
Sample Colors Used:
- Tuff Puff: White, Flamingo, Snickerdoodle
- Fable Fur: Eisbar
needles:
- US 13 / 9 mm: 32″ / 81 cm long circular needle for magic loop. (These are the needles I use and love! They come in many different sizes and include different cord lengths.)
notions:
measurements:
Small: 10.5″ circumference, 8″ tall
Medium: 16″ circumference, 10″ tall
Large: 23″ circumference, 12″ tall
Gauge:
6.5 sts & 12 rows = 4”/10 cm
Measured over stockinette stitch in the round.
Glossary:
BOR – Beginning of Round
CO – Cast on
dec – Decreased
Fur – Fable Fur
k – Knit
k2tog – Knit the next two stitches together (1 st decrease)
p – Purl
Rep – Repeat
TP – Tuff Puff
st/s – Stitch/es
Before you begin…
There is no need to cut your fur between each row, simply carry it up inside of the tree. Since the fur row is a purl row your yarn will be in front on the outside of your work when you finish the round, so make sure to tuck it inside before you begin the following knit round.
Patterns:
SMALL TREE KNITTING PATTERN:
Using TP (Tuff Puff) CO 18 sts leaving a 10″ tail, place locking stitch marker to mark BOR and join in the round.
Rounds 1-6: (TP) K
Round 7: (Fur) P
Rounds 8 – 12: (TP) K
Round 13: (Fur) P
Rounds 14 – 18: (TP) K
Round 19: (Fur) P
Rounds 20 – 25: (TP) K
Round 26: (Fur) P
Rounds 27 – 28: (TP) K
Round 29: (TP) [Decrease] *K1, k2tog; Rep from * to end of round. [6 sts dec, 12 sts total]
Rounds 30 – 31: (TP) K
Round 32: (Fur) P
Rounds 33 – 34: (TP) K
Cut yarn, leaving an 8”/ 20cm tail. Using your tapestry needle, thread the tail through the remaining stitches and pull tightly to close the top of the tree. (Be careful not to pull too tight on the Tuff Puff as the nature of the yarn may cause it to break). Move onto the bottom finishing section.
MEDIUM TREE KNITTING PATTERN:
Using TP (Tuff Puff) CO 30 sts leaving a 10″ tail, place locking stitch marker to mark BOR and join in the round.
Rounds 1-8: (TP) K
Round 9: (Fur) P.
Rounds 10 – 14: (TP) K
Round 15: (Fur) P
Rounds 16 – 20: (TP) K
Round 21: (Fur) P
Rounds 22 – 26: (TP) K
Round 27: (Fur) P
Rounds 28 – 29: (TP) K
Round 30: (TP) [Decrease] *K4, k2tog; Rep from * to end of round. [5 sts dec, 25 sts total]
Rounds 31 – 32 (TP) K
Round 33: (Fur) P
Round 34: (TP) [Decrease] *K3, k2tog; Rep from * to end of round [5 sts dec, 20 sts total]
Rounds 35 – 37: (TP) K
Round 38: (TP) [Decrease] *K2, k2tog; Rep from * to end of round [5 sts dec, 15 sts total]
Round 39: (Fur) P
Rounds 40 – 41: (TP) K
Cut yarn, leaving an 8”/ 20cm tail. Using your tapestry needle, thread the tail through the remaining stitches and pull tightly to close the top of the tree. (Be careful not to pull too tight on the Tuff Puff as the nature of the yarn may cause it to break). Move onto the bottom finishing section.
LARGE TREE KNITTING PATTERN:
Using TP (Tuff Puff) CO 40 sts leaving a 10″ tail, place locking stitch marker to mark BOR and join in the round.
Rounds 1 – 10: (TP) K
Round 11: (Fur) P
Rounds 12 – 16: (TP) K
Round 17: (Fur) P
Rounds 18 – 22: (TP) K
Round 23: (Fur) P
Rounds 24 – 28: (TP) K
Round 29: (Fur) P
Rounds 30 – 34: (TP) K
Round 35: (Fur) P
Rounds 36 – 37: (TP) K
Round 38: (TP) [Decrease] *K3, k2tog; Rep from * to end of round. [8 sts dec, 32 sts total]
Rounds 39 – 40: (TP) K
Round 41: (Fur) P
Rounds 42 – 43: (TP) K
Round 44: (TP) [Decrease] *K2, k2tog; Rep from * to end of round. [8 sts dec, 24 sts total]
Rounds 45 – 46 (TP) K
Round 46: (Fur) P
Rounds 47 – 49: (TP) K
Round 49: (TP) [Decrease] *K2tog; Rep from * to end of round. [12 sts dec, 12 total sts]
Round 50: (TP) K
Cut yarn, leaving an 8”/ 20cm tail. Using your tapestry needle, thread the tail through the remaining stitches and pull tightly to close the top of the tree. (Be careful not to pull too tight on the Tuff Puff as the nature of the yarn may cause it to break). Move onto the bottom finishing section.
FINISHING
See this video – How to Close your Knit Snow Trees – for help on stuffing and closing up your trees.
STUFFING
Using your poly-fill, stuff the tree with just enough stuffing to hold the shape. Do not over stuff.
CLOSING THE BOTTOM
Thread your bottom tail onto your tapestry needle. Run the needle through each loop from the original CO edge, and pull carefully to close up the bottom. Make sure to go slow and do not pull too tight as the Tuff Puff may break. Add any last bits of stuffing needed, then pull tight to close up the bottom. Tie a knot and thread the remaining tail into the bottom of the tree.
Now you have a fun and whimsical snowy knit tree to decorate for the holidays or use the large one as a throw pillow!
- For more FREE knitting patterns click here.
- Sign up for my newsletter to receive pattern discounts and updates on new patterns coming out!
- To purchase the ad-free, large print, printable PDF click here.
- Save this to your Ravelry queue for later here.
- Pin it to Pinterest here.