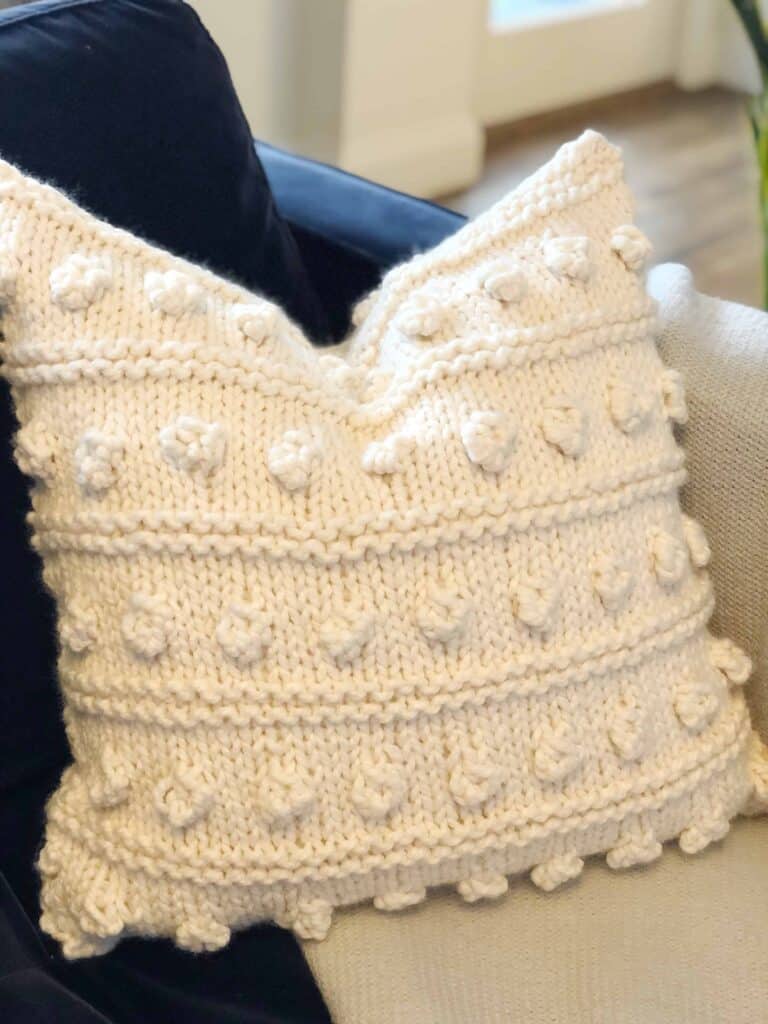
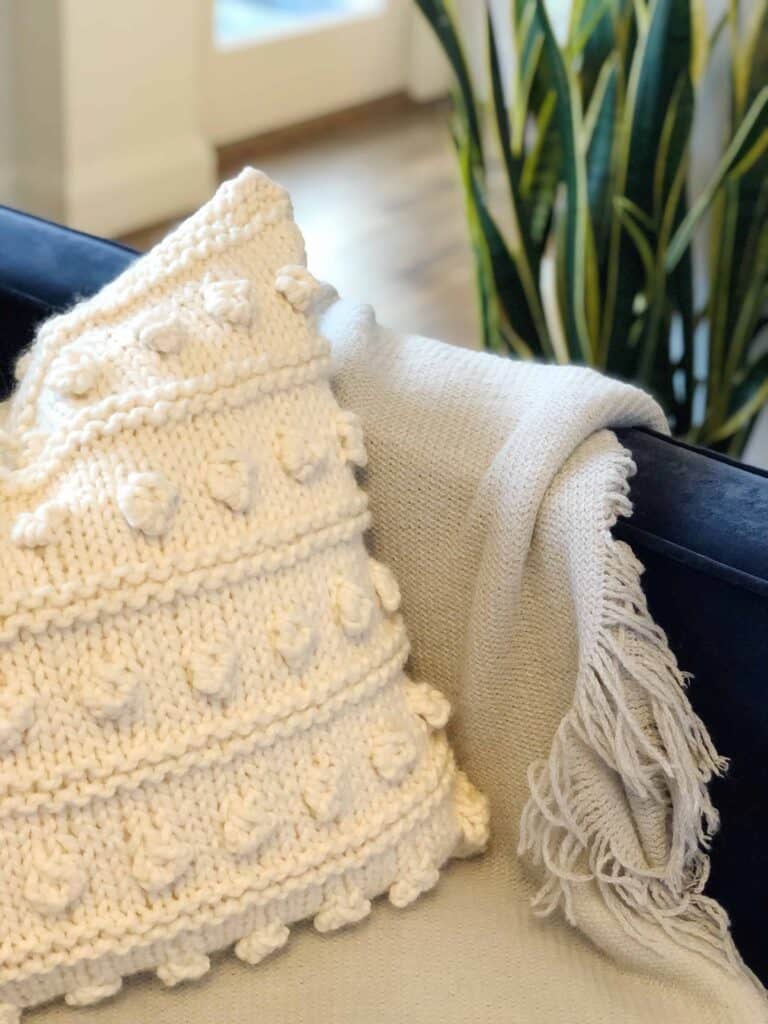
Chunky Bobble Pillow – FREE Pillow Knitting Pattern
Bobbles are so hot right now and are so fun to knit! My Chunky Bobble Pillow- is a free knitting pattern here on the blog! Read through my inspiration and see my favorite yarn for home decor. Or scroll on down for the free pattern.
This post may contain affiliate links. In the event of a sale, I get rewarded a small commission, at no extra cost for you. These funds help me keep my blog up and running to provide you with great content and free patterns so thank you!
PIN IT!

Do you love a good throw pillow as much as I do?
I have a thing for decorative pillows. Raise your hand if you’re with me? I think they just add so much warmth and texture to a room. I like to decorate my home with mostly neutrals and then spice it up with colorful decorative pillows.
I also have a thing for DIY home decor. It gives me a lot of pride to see the pillows that I created each day when I walk into a room. Last year I sewed two pillows for our living room out of fabric from Tonic Living and this time I thought a knitted pillow would add some beautiful texture.
DIY Anthropologie pillow.
When searching for my pillow inspiration I came across these pillows from Anthropologie. I love that store! It has such a beautiful boho aesthetic but it still can be classic.
Do you chop your pillows?
I love a good pillow chop. You know, when you fluff up the pillow and then karate chop the top? I think it makes the pillow look so full and inviting. There’s nothing more depressing than a flat pillow. To get a good “chop” out of your pillow I recommend getting one with feathers or faux down, not poly-fil. This is the pillow set that I purchased from JoAnn’s and I made sure to check how good they “chopped” before buying. Last time I purchased a pillow form from JoAnn’s it was a poly-fil pillow and I did not check the chop. Let’s just say, it’s not my favorite.
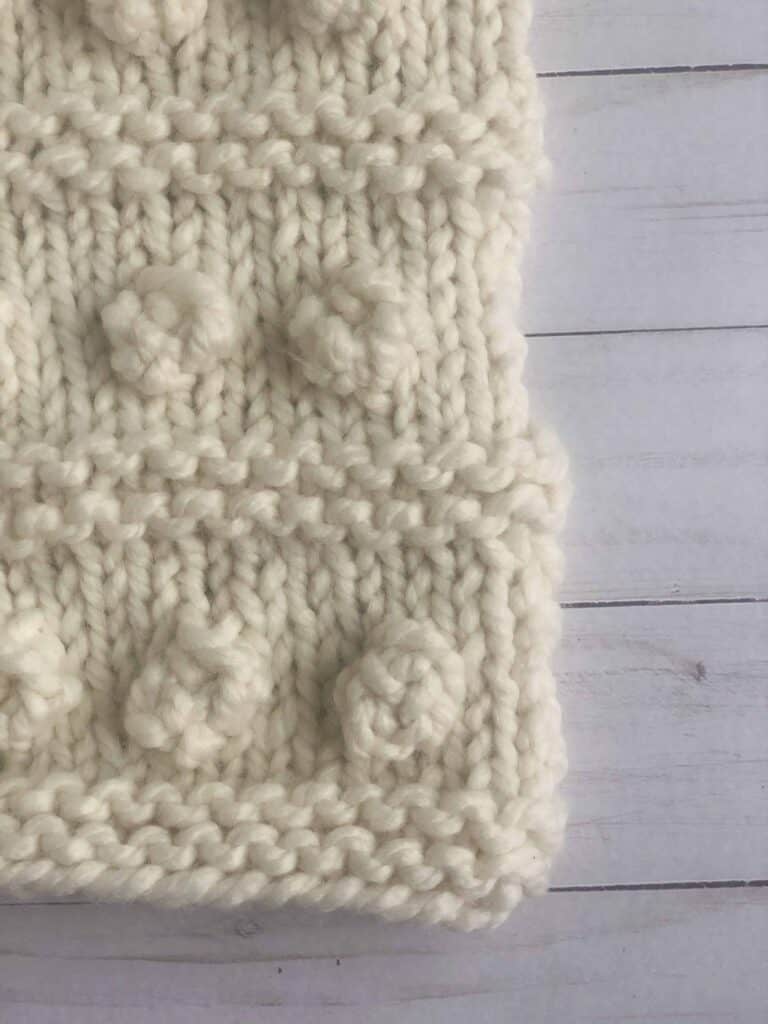
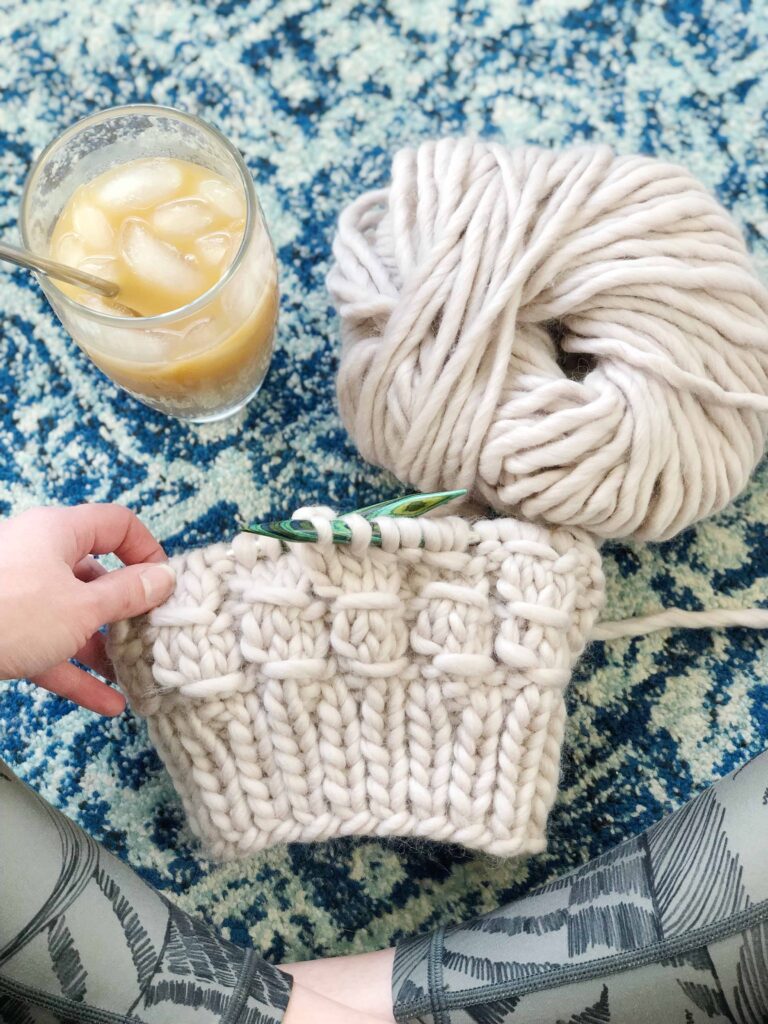
The Bobble Stitch.
Bobbles started becoming more popular around the end of 2018. Now they are everywhere. The bobble stitch is a lot easier to create than it looks. To help I created a video on how to do the bobble stitch. You can find that video below.
Want new free pattern notifications sent directly to your email? Join my newsletter and receive a 10% coupon code just for signing up!
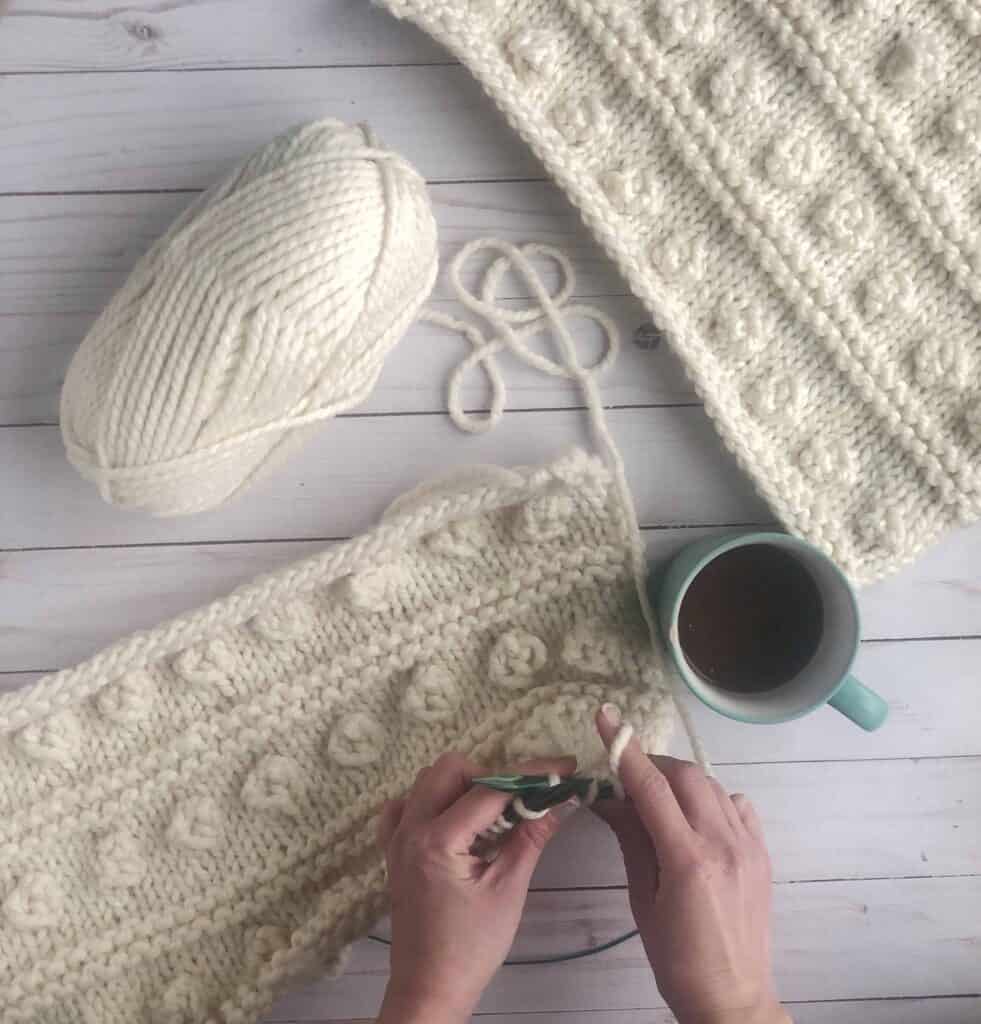
My FAVORITE yarn for home decor.
I like a good chunky look to my blankets and pillows. It makes them feel more cozy to me. Super bulky yarn also knits up faster and let’s be honest, knitting a blanket in a worsted weight yarn could take me a year!
In comes one of my favorite go-to yarns, Lion Brand Yarn’s Wool-Ease Thick and Quick. It’s a wool-acrylic blend and so has the feel of wool but is machine washable! I recently had a friend walk into my house and take one look at our sofa and say “oh, is this what happens when you have kids?” Facepalm. Yup! They destroy EVERYTHING!
Sadly my sofa is not machine washable. (Although I did just buy this little green machine and it’s oh so much better now) My pillow is machine washable though, so the next time my kids decide it’s a good idea to drink a red Gatorade in the living room without permission I can rest easy that my pillow might stand a chance!
Wool-Ease Thick and Quick (WET&Q) also has great stitch definition. This means that the stitch pattern shines and your garter stitch details and bobbles are going to pop.
Looking for other patterns that feature this yarn?
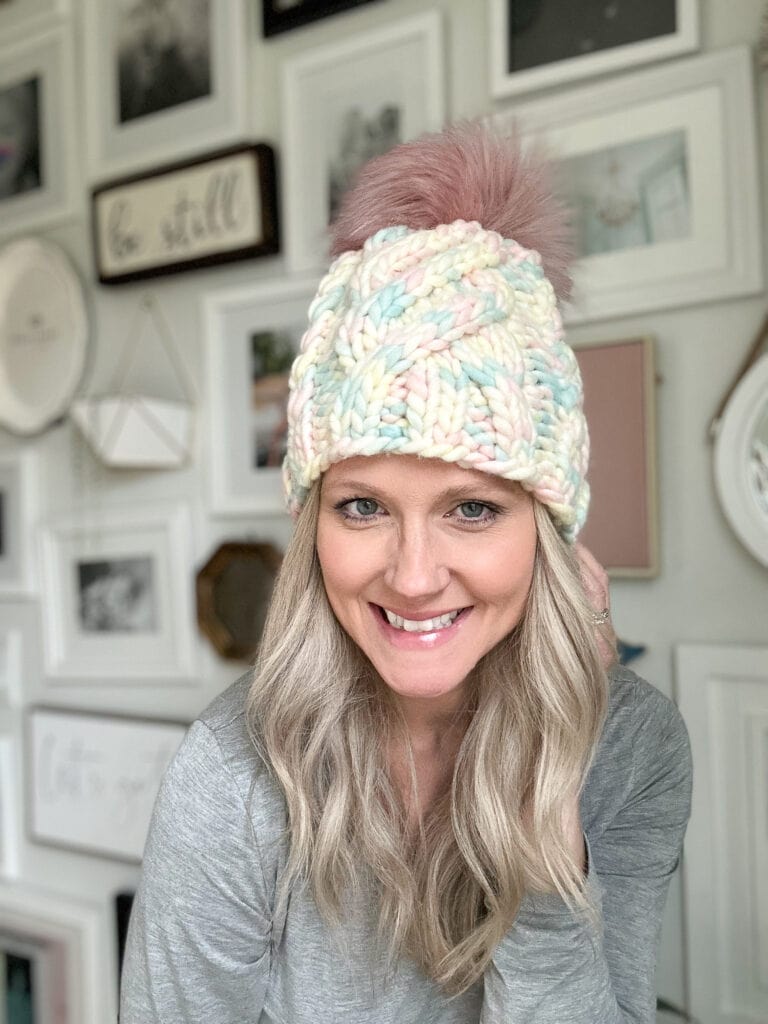
- My Glimmer Beanie pattern looks best in this yarn and can be found on either Etsy here or Ravelry here.
- I also LOVE how my Char Char Hat pattern looks in WET&Q. You can find that pattern on Etsy here or Ravelry here.
Chunky Bobble Pillow Knitting Pattern
- Get the large print, ad-free, printable PDF pattern here.
- Pin this to your Pinterest board for later here.
- Add this to your Ravelry queue here.
- Find more FREE knitting patterns here.
Skill Level: Advanced Beginner
Supplies:
- Approx. 287 Yards of Super Bulky Yarn (Weight 6) I recommend Lion Brand Yarn, Wool-Ease Thick & Quick. You can buy it here.
- Needles: US 13/ 9mm, 24” circular knitting needle (This is my favorite interchangeable needle set and cords!) or long straight needles.
- Notions: Tapestry Needle, Scissors,
- 18” X 18” Pillow Form (Like this one)
Gauge
9 sts & 14 rows = 4”/10cm. Worked over stockinette stitch.
Finished Measurements
18″ x 18″
Notes:
- This pillow is knit flat in two separate pieces and then seamed together at the end.
- You can use long straight knitting needles instead of circulars as long as your stitches fit without falling off.
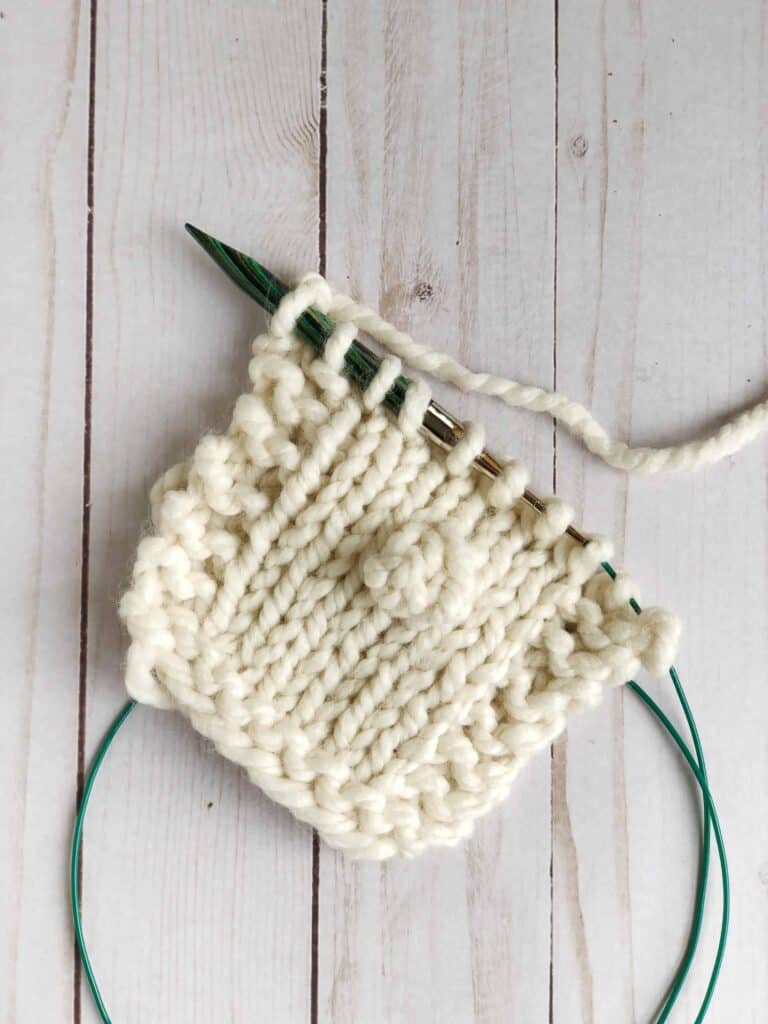
- Bobble Stitch: Knit into the front of the stitch, keeping it on your left needle, knit into the back of the same stitch, keeping both stitches on the needle knit one more time into the front of the stitch. Pass those three stitches to your right-hand needle. Turn your work and purl each of the three bobble stitches. Turn your work again and knit each bobble stitch. Cast off the two extra bobble stitches by passing each one over the first bobble stitch. (Here is a helpful video tutorial: https://youtu.be/5XTUyZAlMds
- I like to “chop” my pillows at the top to create the slight V. If you also like this look then I suggest buying feather-fil pillows as they hold a “chop” better than poly-filled ones.
Glossary
- ST(S) = Stitch(es)
- CO = Cast on
- K = Knit
- P = Purl
- Bobble= See bobble instructions in notes and link to video tutorial.
- Rep = Repeat
- WS = Wrong Side
- RS = Right Side
Directions:
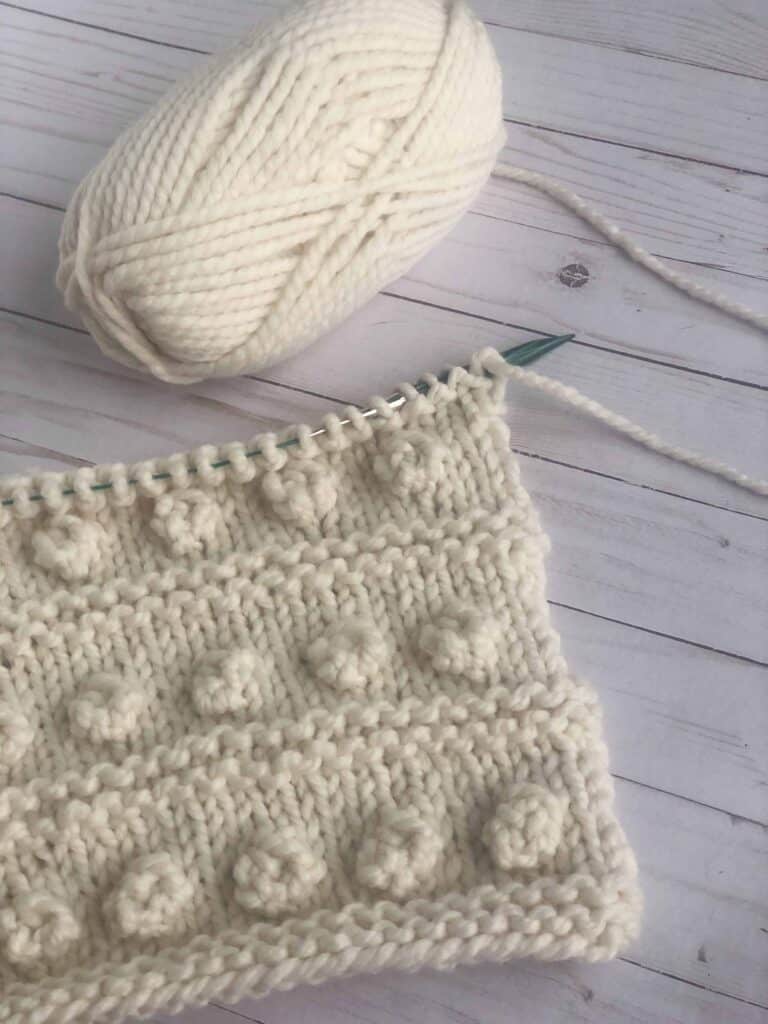
PANEL 1
CO 40 sts using the long tail cast on.
Row 1 (WS): Knit all sts.
Row 2 (RS): Knit all sts.
Row 3: Knit all sts.
Row 4: Knit all sts.
Row 5: Purl all sts.
Row 6: Knit all sts.
Row 7: Purl all sts.
Row 8: *Knit 3, Bobble; Rep from * until you reach the last 4 stitches, K4.
Row 9: Purl all sts.
Row 10: Knit all sts.
Row 11: Purl all sts.
Row 12: Knit all sts.
Repeat rows 1 – 12, 4 more times for a total of 5 times.
Cast off all stitches knitwise. Move onto Panel 2.
PANEL 2
Repeat steps for Panel 1
Finishing:
Cut yarn, leaving a 10-foot tail. (To quickly measure this, take your yarn tail and place it along the outside edge of panel 2 twice around. This will give you a long enough tail for seaming.) Pull tail through final stitch to close. Weave in all ends, except for the 10-foot tail.
Seaming:
Place Panel 1 and Panel 2 on top of each other with right sides facing out. Using your tapestry needle and the 10-foot cast-off tail, whip Stitch around 3 of the edges. (Here is a video of how to do a whip stitch https://www.youtube.com/watch?v=Nj8Ei1ERk48 )
Once 3 of your edges are seamed together, take your pillow insert and place it inside the pillow cover. Continue to whip stitch the remaining side closed. When you reach the corner where you started seaming weave the tail through a few stitches to secure it and tuck it inside the pillow cover.
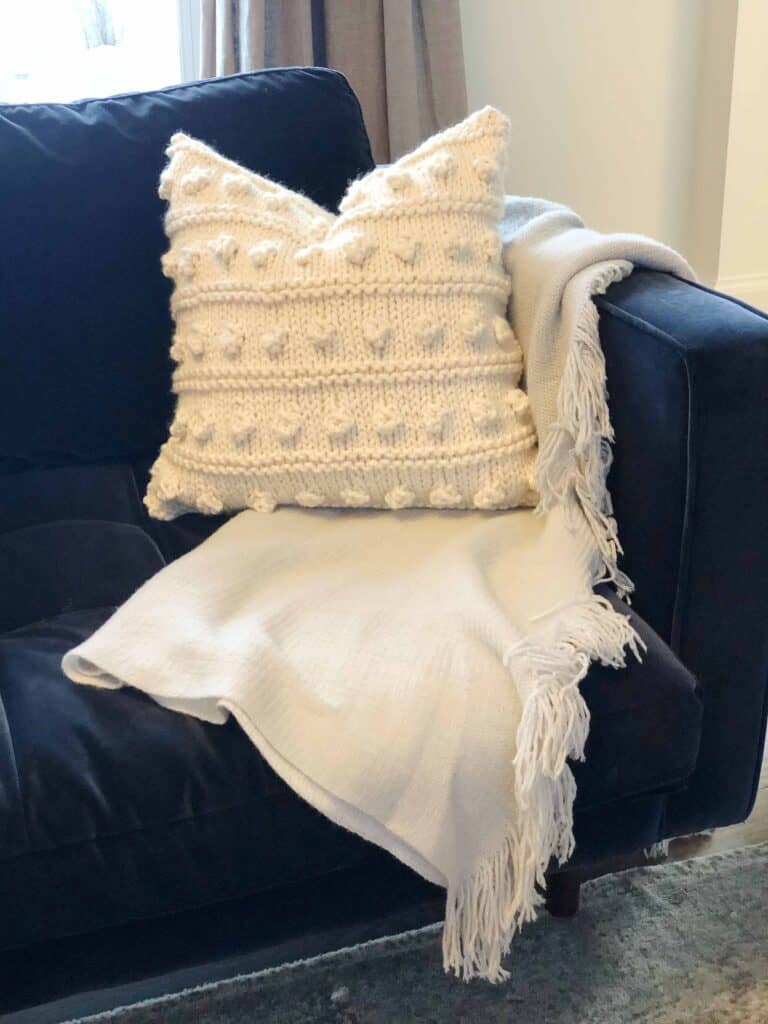
Styling:
Now grab your new trendy pillow, give it a chop and get ready for the compliments!
Get Social!
Share your finished pillows on Instagram and Facebook and use #ChunkyBobblePillow for a chance to be featured. I love showing off your finished projects!


This pillow is so cute! I do have a question tho. If I were to knit the bobbles on just one side so that the other side would be comfy to lay on, would I just knit the “bobble row” all the way across? Would the pieces still match up if one side were flat? Thanks for your help. I’m a beginning knitter and would love to try this adorable pillow pattern!
Great question! I’ve had a few other people do this with their pillows. Yes if you simply knit across the bobble row and not do any bobbles that side will still come out the same size and the garter stripes will match up. Let me know if I can help with any other questions!
Thank you so much for the quick response! I bought needles and yarn today and I’m so excited to get started!
I’ve started your pattern. Can I do the back panel all in garter stitch? Would it still line up with the front panel?
Thanks for a fun project!
Yes! Some have even done it all in stockinette.
Hi,
I’m wondering can this pattern be adapted to a throw
Yes it can! It’s a 4 stitch repeat so you would simply cast on the number of stitches you want in multiples of 4.