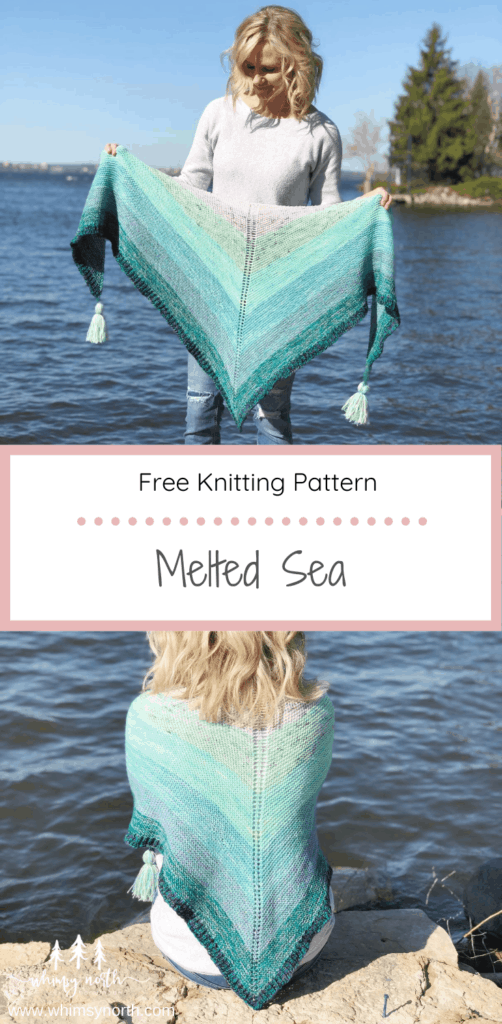
Melted Sea Shawl – Free Shawl Knitting Pattern
Beginner knitters, my Melted Sea Shawl – free beginner shawl knitting pattern is now on the blog! Read through my design inspiration and how to find the perfect yarn or scroll down for the free pattern!
This post may contain affiliate links. In the event of a sale, I get rewarded a small commission, at no extra cost for you. These funds help me keep my blog up and running to provide you with great content and free patterns so thank you!
Beginner Shawl Knitting Pattern Design Inspiration
The design that started it all. One day I was scrolling through Pinterest looking for a scrap yarn knitting pattern that would help me use up the scraps of fingering weight yarn that I had leftover in my stash.
I struggled to find projects that used the amount of yarn that I had left and I also wasn’t exactly sure how much yarn was in each skein. I was determined to find a way where these expensive and beautiful skeins of yarn didn’t go to waste! That is when I created the Melted Sea Shawl. A free beginner shawl knitting pattern that uses scrap yarn.
PIN THIS PATTERN FOR LATER!
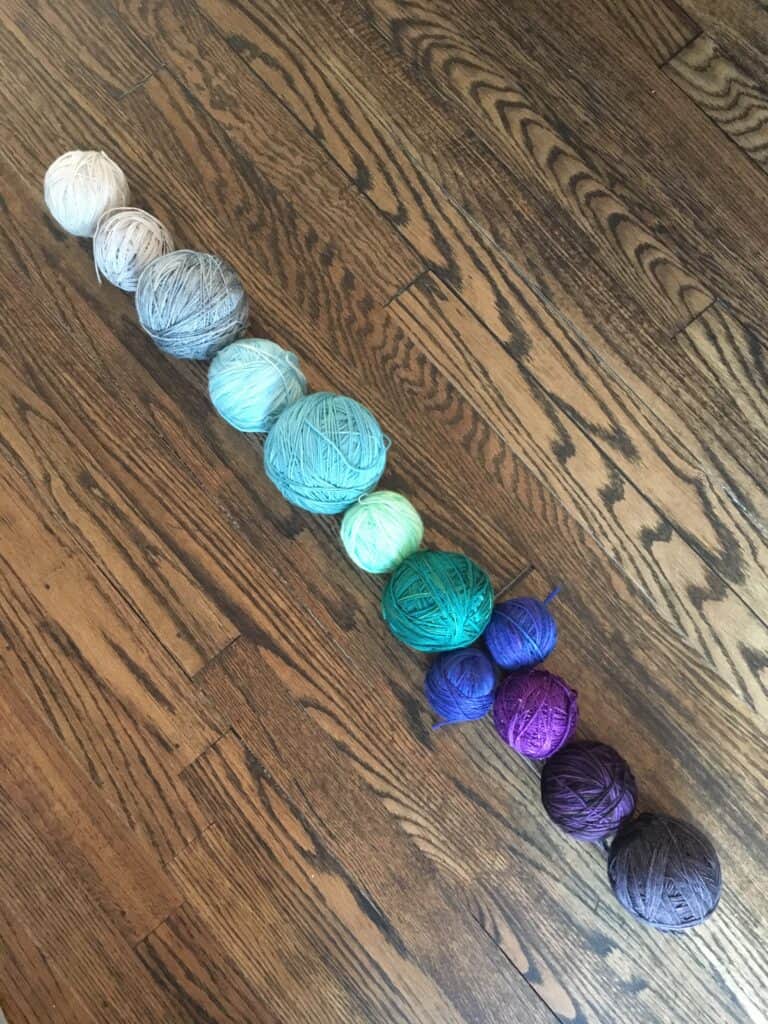
I pulled out all of my left-over skeins of fingering weight yarn and realized that a very pretty color story was taking place. Blue, turquoise, and grey faded together in a gorgeous Ombre design. The plan was to create a shawl that faded all of these colors together.
Marling Two Yarns Together to create a faded Ombre.
Marling is when two strands of yarn are held together at one time. Two fingering weight yarns equal about a DK weight yarn which also allows me to use larger needles and get more square footage knit in less amount of time. As a busy working mom this was also a plus to marling. It also creates a very pretty fade.
The Yarn.
As you can see from the photo above, I was able to pull together 11 different partial skeins of fingering weight yarn for my shawl in coordinating colors from my “scrap bin.” You don’t have to go stash diving for this project. I recommend choosing yarns that are tonal or have some speckles in them as they create a better fade rather than straight solids.
Luxury Yarn Route.
If you don’t already have fingering weight yarn in your stash and want to use some hand-dyed independent dyer yarn here are some of my favorite indie dyers right now that offer fingering weight yarn.
One thing to note with the above dyers is they all work on an update model. Which means, they create a collection and then upload it to their website at a certain date/time and either sell it as ready to ship or a preorder.
This means that if you go to their websites right now they may not have any products available. They are all small single person owned businesses and therefore can only dye a certain amount of yarn at a time. For those that are looking for yarn now, I have a second option next.
Luxury for Less.
As you will see throughout my blog, Knit Picks is my go to site for my luxury yarn for less and my favorite tools! While I love hand dyed yarn from independent dyers and like to support them frequently, it’s not always in my budget to purchase a sweater quantity yarn for $28-$30 per skein.
This is why I love Knit Picks! They offer me the same quality of yarn but for less, because they work directly with the mills, are a larger company, and don’t have the same lengthy process that the indie dyers do. Here are some of my suggestions for yarn from Knit Picks for this shawl. As you can see, there are a lot of options!
- Stroll Tonal – my favorite for the color options and it’s so soft!
- Stroll Tonal Mini Packs – Mini skeins of Stroll Tonal in coordinating colors.
- Stroll Tonal Hand Painted – This could add more of a pooling stripe look but with the marling, it may blend nicely
- Hawthorne Fingering Kettle Dye – The colors for this yarn are so rich and vibrant.
- Hawthorne Fingering Multi – This yarn has more variegation and would blend very well with others.
- Hawthorne Speckle – I love these speckle yarns, however, would only recommend them for the first color since they only feature a light base color
- Hawthorne Tonal Hand Painted – This yarn features more muted colors.
- Muse Hand Painted – This is a vibrant colored multi hand-painted yarn.

Melted Sea – Free Beginner Shawl Knitting Pattern.
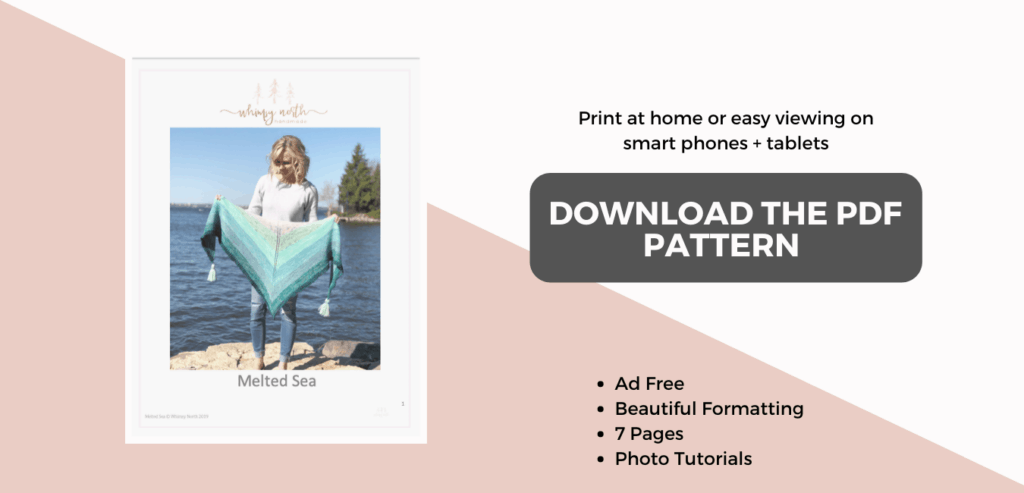
- Get the inexpensive, ad-free, printable PDF pattern here.
- Pin this to your Pinterest board for later here.
- Add this to your Ravelry queue here.
- Find more FREE knitting patterns here.
Description:
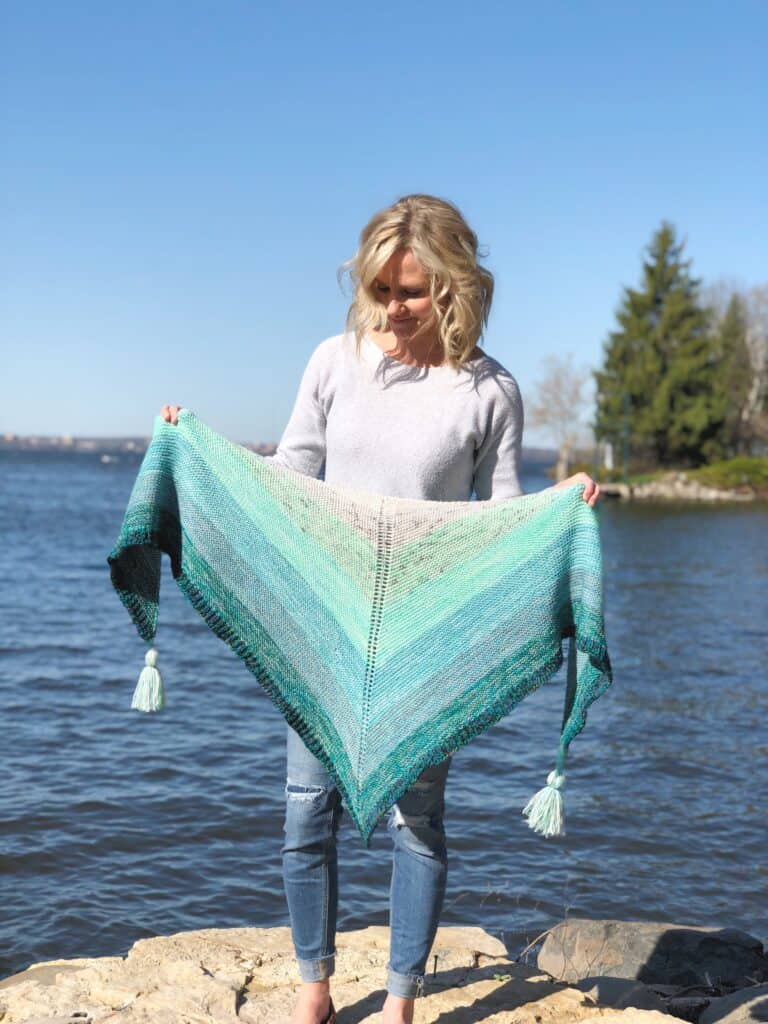
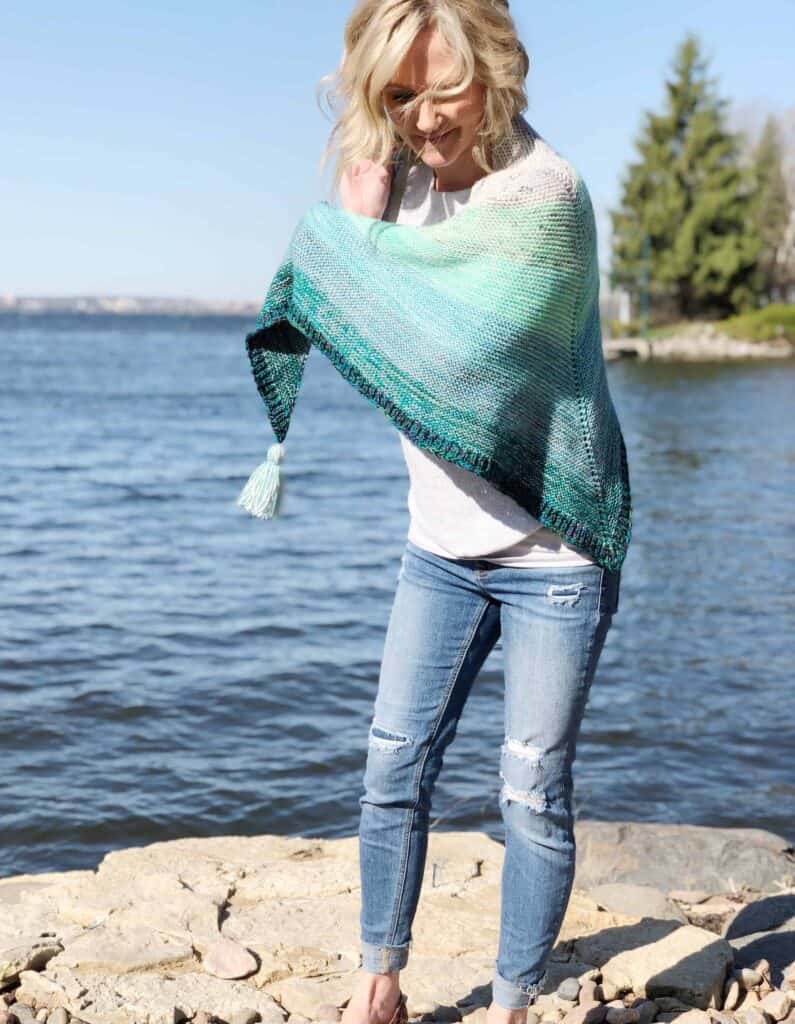
This triangle beginner shawl knitting pattern is knit top-down with increases in the center and at the side of every even row. Holding two strands of yarn together at once or “marling” the two yarns allows for an easy fade and ombre look. This pattern is more of a shawl recipe as each section is determined by how much yarn you have available in each colorway.
Squishy, relaxing garter stitch is dotted by eyelet increases and an element of fun is added in melting new colors together to create an Ombre effect! The shawls size can be adjusted based on the size you prefer and the amount of yarn you have available, lending itself to a multitude of styling options. Top if off with two tassels and layer it over just about anything!
Materials:
- YARN: About 1,760 yards total of fingering weight yarn in 9 different colors. Each color does not have to have the same amount of yarn. (See section above for suggestions)
- NEEDLES: US 7/ 4.5 mm 32” – 40″ Circular Knitting Needle (These are my favorite interchangeable knitting needles that come with multiple cable sizes!)
- NOTIONS: Stitch Marker, Tapestry Needle, Gauge Ruler, Tape Measure
- GAUGE: 19sts x 42 rows = 4” in garter stitch after blocking (getting gauge isn’t as important for this design, it’s more about the fabric created. I recommend doing a swatch to see how your fabric drapes and choosing needles based on that.
- SIZE: Create your own size
- FINISHED MEASUREMENTS: Center depth 27”. Wingspan 60” (not including tassels)
Glossary:
{} = Repeat
CO = Cast On
K = Knit
P = Purl
STS = Stitches
St = Stitch
RS = Right Side
WS = Wrong Side
PM = Place Marker
SM = Slip Marker
YO = Yarn Over
BO = Bind Off
Sign up for my Newsletter to receive notifications on NEW FREE Knitting Patterns on the blog!
Pattern:
SELECTING COLORS:
Select a gradient of 9 colors ranging from light to dark. Each section will include two colors held together starting with the lightest colors first. To create the Ombre/melting effect select yarns as follows:
Color A: Lightest
Color B: Shade darker than Color A
Color C: Shade darker than Color B
Color D: Shade darker than color C
Continue selecting colors like this until all of your colors are chosen and the darkest colors are at the end. Label them Color A, B, C, D, E, F, G, H and I. Colors do not need to be in the same color family, such as all blue, just that their color value is lighter or darker than the others.
SECTION ONE:
Holding Color A & Color B together, CO 3 sts using the long tail cast-on method.
R1 (RS): {K1, yo} repeat until the last st, K1 [2 sts inc, 5 sts total]
R2 (WS): K across
R3 (RS): {K1, yo} twice, pm, {K1, yo} twice, K1 [4 sts inc, 9 sts total]
R4 (WS): K across
R5 (RS): K1, yo, knit to marker, yo, sm, K1, yo, K to last st, yo, K1
Repeat [Rows 4 & 5] until section measures 2 -3” or you have about half of color B remaining. (You will use the other half of Color B for Section Two.) End on a WS row.
SECTION TWO:
On a RS row, Break Color A and pick-up Color C. Holding Color B & Color C Together continue Repeating [Rows 4 & 5] until section measures 2-3” or you have half of Color C remaining. If you begin to run out of Color B switch to the next section.
SECTION THREE:
On a RS row, Break Color B and pick-up Color D. Holding Color C & Color D Together continue Repeating [Rows 4 & 5] until section measures 2-3” or you have half of Color D remaining. If you begin to run out of Color C switch to the next section.
SECTION FOUR:
On a RS row, Break Color C and pick-up Color E. Holding Color D & Color E Together continue Repeating [Rows 4 & 5] until section measures 2-3” or you have half of Color E remaining. If you begin to run out of Color D switch to the next section.
SECTION FIVE:
On a RS row, Break Color D and pick-up Color F. Holding Color E & Color F Together continue Repeating [Rows 4 & 5] until section measures 2-3” or you have half of Color F remaining. If you begin to run out of Color E switch to the next section.
SECTION SIX:
On a RS row, Break Color E and pick-up Color G. Holding Color F & Color G Together continue Repeating [Rows 4 & 5] until section measures 2-3” or you have half of Color G remaining. If you begin to run out of Color F switch to the next section.
SECTION SEVEN:
On a RS row, Break Color F and pick-up Color H. Holding Color G & Color H Together continue Repeating [Rows 4 & 5] until section measures 2-3” or you have half of Color H remaining. If you begin to run out of Color G switch to the next section.
Border:
On a RS row, break Color G and pick-up Color I. Holding Color H & I together choose which border you would like to apply:
There are two different border options based on skill level.
BEGGINER:
Repeat [Rows 4 & 5] 3 more times.
INTERMEDIATE:
This border requires to you know how to read your knitting and determine if the next stitch is a knit stitch or a purl stitch.
R1 (RS) K1, yo, [P1, K1] repeat to marker, yo, sm, K1, yo, [P1, K1} to last st, yo, K1
R2 (WS) K the Knit sts and P the Purl sts.
*Repeat R1 & R2 twice more, however, each time you do the yo you will increase the stitch count, therefore, make sure to K the knit sts and P the purl stitches on each round to create a 1×1 ribbing border. There will be occasions when two K or two P sts will be next to each other, still K or P them accordingly.
Bind Off:
Bind off using Jeny’s Suprisingly Stretchy Bind Off as follows K1, bring yarn forward over the back of your needle to create a yarnover, knit the next stitch. You now have a knit stitch, a yarnover and another knit stitch on your right needle. Pass the first knit stitch and the yarnover over the second knit st. *Bring the yarn back over the top of the needle (to create a yarnover) and knit another stitch, pass the previous knit stitch and yarnover over that stitch; repeat from * until only one st is left on the needle. Break the yarn leaving a 5” tail, pull it thru your last live stitch and pull tight to close it.
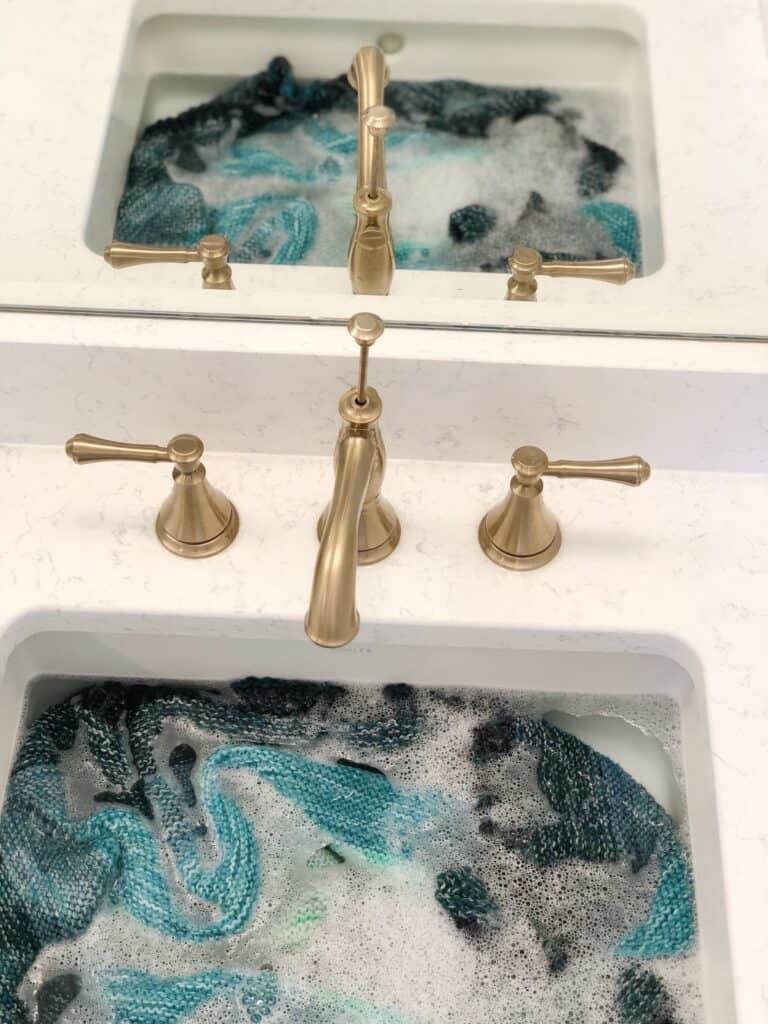
Finishing:
Weave in ends and block by soaking your shawl in lukewarm water with your favorite wool wash for 15 minutes. Squeeze out the excess moisture with a towel and lay flat to dry in a triangle shape!
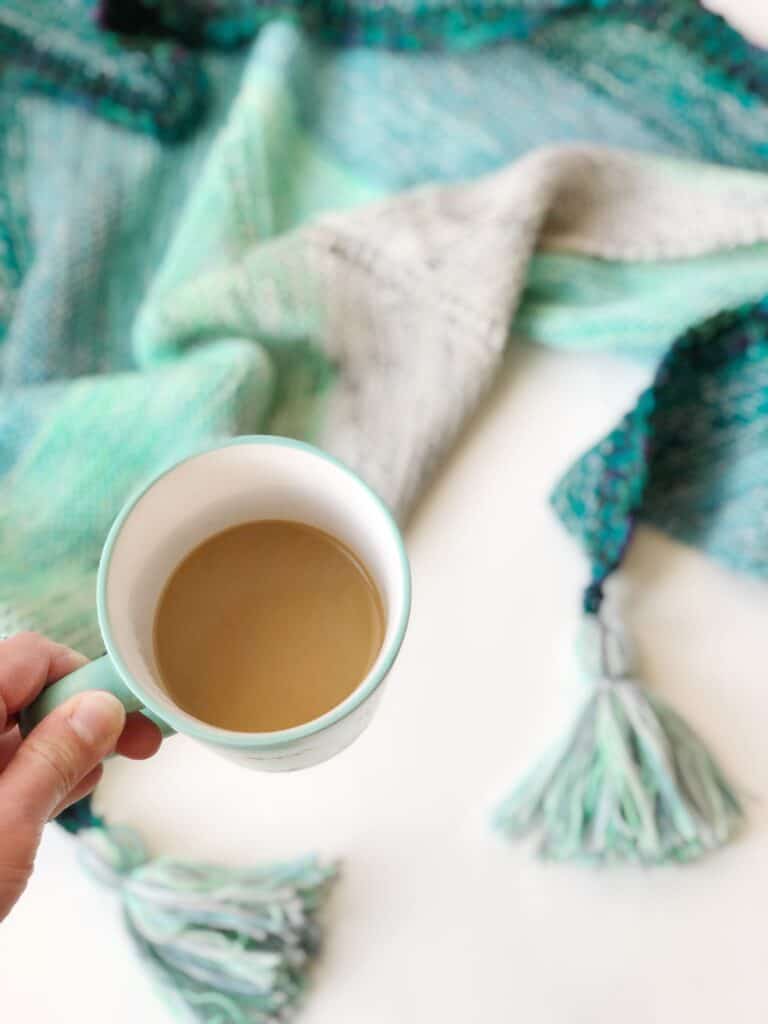
See my tutorial on How to Make a Tassel with Yarn to add tassels to the corners of your shawl.
I hope you enjoy this Free Beginner Shawl Knitting Pattern! For more Free Knitting Patterns click here.
PIN IT!